New Sewer Line

Our fall and winter has been filled with some exciting “joys of homeownership” issues. In November we noticed that we were having a problem with the sewer line, which started to drain very, very slowly. Fortunately, since we live on a large sloped lot, this didn’t really result in any disaster for us, but it clearly had to be corrected. About halfway down the backyard hill, we suddenly had a very green area of the lawn, even into late October. In our house, the sewer line comes out the back of the house, and runs approximately 100 feet to a manhole on the edge of our property.

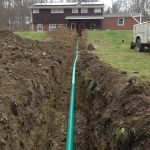
A quick call to our local plumbing service to check things out led to us having an excavator dig the potential problem area up as we couldn’t successfully snake out the problem. This revealed…a whole lot of nothing, except that the line was terra cotta tile. Usually this means that the clay tile has either collapsed or become clogged with tree roots somewhere, but we weren’t entirely sure exactly where that was. Mary and I made the call to have the whole line replaced – replacing only part of it would have been technically cheaper, but there is the possibility that the remaining parts of the line would have required service at some point in the future. Since we already had paid for the excavator and the time, replacing the whole thing with new SDR 35 (PVC) pipe and never worrying about it again seemed like a good choice. SDR 35 pipe has a gasketed bell joint – each piece fits together tightly and securely – so it effectively stops roots and other problems before they start.

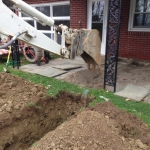
I lent a hand to the crew, becoming the “third man” they needed on the job (which saved a few hundred bucks.) This work isn’t particularly bad, since we’re laying in all brand new line, which took 1.5 days. While I was at it, I had them dig a trench for electrical wiring to a new shed (more on that in a future post.)

When digging the line up, we found two things: first, halfway down there was a cleanup buried in the ground. If we had known that was there, it may have been handy. Second, the upper half of the pipe was terra cotta, but the bottom half was cast iron pipe. (the roots had grown into the cast iron section very close to the manhole.) This leads me to believe that my grandparents possibly replaced a portion of the sewer pipe, possibly in the 1970s or 1980s. Unfortunately that’s a detail I can’t really find out currently.

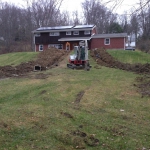
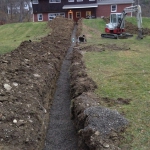
Of course, we’re coming into spring and I have a new challenge: getting the backyard cleaned up. An excavator digging a giant trench across your lawn leaves a heck of a rocky mess to clean up.

New Sidewalk

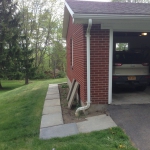
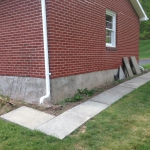
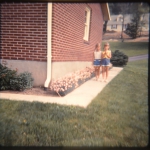
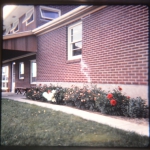
I have a handful of old slides, they are mostly from the 60s, from around the house. From those slides, I knew that originally there was a sidewalk from the driveway around the garage to the back patio. Here are snapshots of a pair of them, from 1965 – I don’t have a good slide copier quite yet, so the quality isn’t that great:
The sidewalk was made of concrete, and as such it broke apart over the years. I’m guessing it was taken out sometime in the early 1980s by my grandparents when they replaced the original concrete patio with bluestone pavers, but am not certain. What I did know was that I a sidewalk was not only eminently functional, but also looked really nice – it provided a natural border around the perimeter of the house for planting, etc. In the summer of 2014 I did a lot of work on the front landscaping, so this would be a good chance to finish the landscaping around the entire house.

Before I could begin, I had to do some prep work – there was a raised bed against the back wall that had to come out, and it was filled with a lot of bearded iris that I wanted to move elsewhere. Once these were done, I also had to parge the rear foundation wall to get it back into shape.

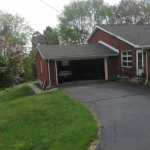
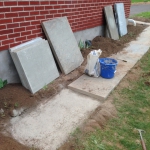
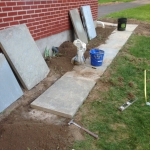
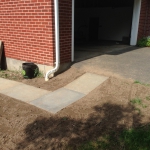
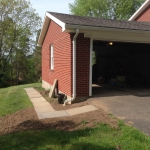
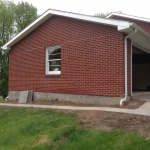
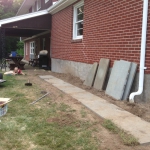
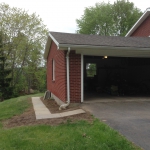
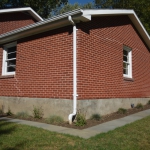
With the prep work out of the way, I turned out to be in luck elsewhere – our new neighbors down below were pulling up a bluestone walkway in front of their house to put in a larger multi-level concrete patio. It turned out that the stones were generally 2ft x 3ft stones…exactly what I was laying for the new sidewalk – for a tidy savings of a few hundred bucks. I picked up the rest of the stones needed from a local building supply shop and set to work. Each stone is thick and heavy – 2ft by 3ft by 1.5 inches thick, weighing about 80-90 pounds each. They are mostly just set into the clay soil with some sand to ease leveling. It took about two weeks to get the whole walkway finished up, but the end results came out well, especially once I got some basic landscaping in place. Here are the pictures:

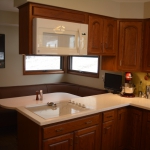
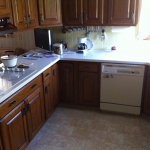
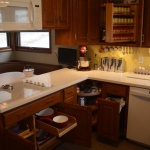
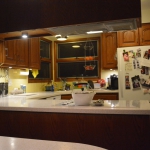
Before and After: Kitchen

We’ve done a lot of work on the kitchen since we’ve moved in. But, almost all of it was “small stuff” – weekend projects and small changes or additions – because the big stuff such as cabinets (Oak Wood-Mode) and countertops (Corian) had previously been done by my grandparents. The real problem with the kitchen was that while all of these things had been done, each had been done at different times and over the years the cohesiveness of the kitchen was missing. It just didn’t look like everything fit together.

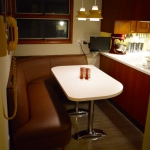
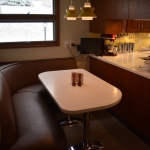
So, we set out to change that. The first steps were very basic – changing out the light switches and outlets (along with the rest of the house) to match, and swapping out lights. Originally there was a ceiling fan light in the kitchen area and a single light above the kitchen table. In it’s place went a simple very bright fluorescent fixture and a dual pendant light from Rejuventation. At this time we had the banquette reupholstered, painted the walls and ceiling, swapped the cabinet hardware for chrome, and I rebuilt the cabinets above the cooktop to make them higher and hold a microwave.

Next, I tackled the flooring. This was quite a project – so much that I talked about it extensively in a post back in 2013 (a post that is among the most popular on this blog.) That flooring was Armstrong Striations flooring in Twilight color.

The final parts came earlier this year, when I tackled another fairly large small project – adding under-cabinet lighting – as well as having the table legs chromed.

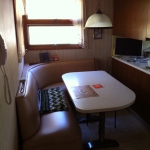
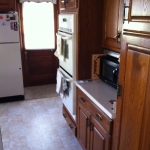
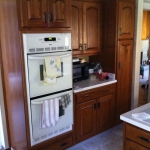
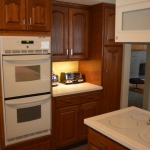
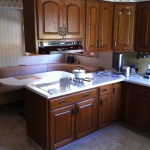
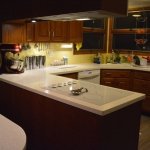
With all of these projects together, I felt it was time to take it all together and present a before-and-after set of photos of the kitchen. While the projects have been relatively small, the transformation is large.


Local MCM House For Sale

The neighborhood we live in is known as Ridgewood – it’s about 200 houses, the earliest houses are from the mid 1950s, and the newest about 2010 (there are lots available, but no new houses have been built since then.) The neighborhood has a lot of what are known as “mid century modest” houses – ranches, split entrys, etc – but sprinkled in the mix are a number of great mid-century modern examples too. On the outskirts of the neighborhood, one of those just went on the market. It was built and owned by a local dentist – on a hillside, overlooking the valley, with walls of glass and a pool out back. And a really awesome mural downstairs. See it here: 964 Mountain Rd, Owego, NY 13827

Patent Prints

This is one of those stories I’ve kept saying “oh, I’ll share that one next,” but kept putting it off in favor of other stories here on the blog for the last several months. So – now I’m making sure to share it.

A little over a year ago, I came across a website that advertised selling large-scale prints of cool and interesting patents. The concept isn’t very sophisticated – the patents themselves are available free of charge from Google Patents, where you can find high resolution scans of most (maybe all) patents ever issued – but the fun part is someone got the idea that they could use these drawings, printed nicely on large-format paper, and make a business on a place like Etsy. You choose details such as the size, and type of paper stock and color you want to see them printed on. They have their large-format printers do the work and ship you the finished product. I’m a sucker – I thought it was cool, so I ordered a set of ones that I liked.

Ultimately though, I wanted more than just a paper poster to hang on the wall. This house isn’t a college dorm room, after all. So I thought about the best way to take those posters and make them into something more sophisticated. The simplest path would be to stick them into a frame, but I felt they wouldn’t look quite as interesting if that was all I did. So I looked into a more complex process in which I would plaque mount the posters on wood.

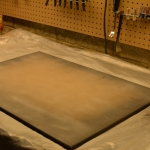
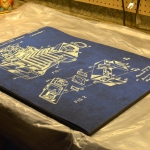
With a little bit of Internet research I came up with a plan: pick up some 3/8 inch MDF (medium density fiberboard), cut them to the site of the posters, bevel the edges of the board with a router and paint the edges black to prep the plaque itself. Then glue the poster to the board using spray adhesive and as a final step, coat the finished product with a matte finish spray to protect the paper.

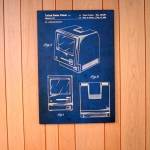
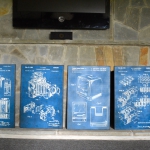
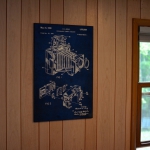
I wanted these posters to go on the walls in the Family Room downstairs, which overall has a blue tone (bluestone fireplace, bluish-gray carpet, and bluish-gray shades), so I picked the posters to be printed in an off-white ink on a blue paper background, and on a relatively large size (20×30.) I chose four patents: a Polaroid close-up lens add-on (for my camera work), a Lego brick (for the large Lego collection I possess), the original Macintosh case design (I am a Mac guy), and the Hollerith tabulating patent (what, essentially, started it all for IBM in 1888.) It took about a week to do all four of them start to finish, but I am very happy with the results, and they really fit into the room well, completing the look on the walls. I also feel they follow my motto of being Mid-Century Compatible.

Here are the progress and finish shots: