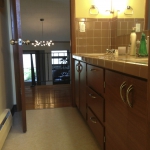
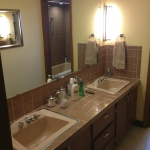
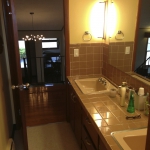
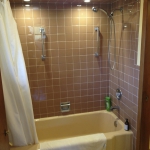
One project I was wanted to finish before the baby arrived was to replace the floor in the upstairs bathroom. About seven years ago, my grandmother had the original flooring, which was a white and green tile that was coming up in many places, replaced with some relatively inexpensive linoleum sheet flooring. This flooring was not particularly bad (it was unobtrusive visually since it blended) but it definitely was not mid-century compatible, and I wanted to fix that.
Having had some experience doing this before when we replaced the kitchen floor I had a lot of experience checking out and examining options for flooring that would fit in well. In the end, we decided that the best course of action would be to use the same flooring that we used in the kitchen but in another color. That flooring was Armstrong Striations – this time in the color Atmosphere. The rationale for doing this was pretty straightforward: Visually throughout the house, all of the wood flooring have grain going in one direction. With the kitchen flooring, I intentionally aligned the pattern of the tile to follow this grain pattern. The exception is the foyer floor, which is laid on a 45 degree bias. This ties all of the flooring together visually and creates a “hub” that is different in the foyer, which is the natural hub space of the house.
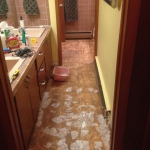
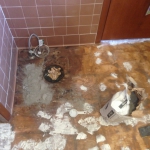
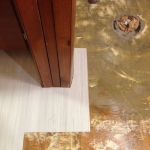
Replacing linoleum is pretty straightforward – you pull up the glued linoleum, carefully peel up the luan underlayment to expose the original subfloor, then patch and level. Around the toilet space there was a dip in the floor that I had to deal with by putting some patch in the low spot. I didn’t get it perfectly level, but it’s much better than it used to be. To ensure the tiles are smooth once laid down, I put more patch (the white spots) on the flooring where there were nail and staple holes.
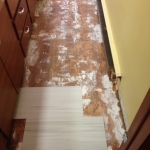
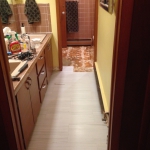
Once prepared, laying the floor took a single evening. Starting at one end of the room you steadily work your way down the room. In a room this size it’s easiest to just make your cut pieces and fit them in as you go – in a larger room you typically lay all of your whole pieces first, then go back around the edges and put in your cut pieces. Because of the way the tiles fell I had one very difficult cut to make around the pocket door frame. It took 2-3 tries to get it right, but ultimately I was satisfied with the look.
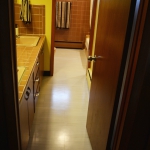
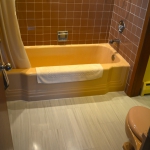
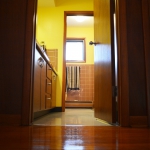
Now that it’s finished and has been given a coat of polish, I’m very happy with the results. While new and modern, the floor fits very well with the mid-century aesthetic of the bathroom since it has all vintage fixtures and hand built cabinetry.
Here are the progress shots:

