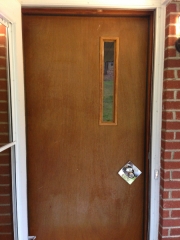
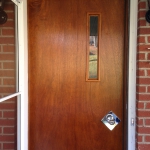
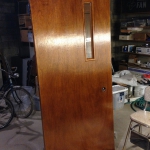
A project that had been on my to-do list since before we moved in, but was always put off, was refinishing the front door. The house has a solid wood birch-veneered door. It’s a pretty sweet mid-century touch, but the exterior side was in need of some TLC. Before she moved out, Grandma had told me that she had stained\polyurethaned the door previously, but I wasn’t sure. Years of exposure to the elements and indirect sunlight had dried out the finish. The interior side was in great shape, however. Here’s the before look:
First a note to all of those who think they should just replace their doors: Solid wood doors are not only more aesthetically pleasing, they are just as (or nearly as) efficient as metal or insulated doors. If you have an older door that lacks or has minimal weatherstripping (like ours), you can add good weatherstripping yourself with a small amount of effort (another story and another task.)
I originally through I would stain and polyurethane the door. I had always had trouble figuring out what color the stain was – none seemed to match. Turns out my father in law mentioned one day that he thought that, given the age of the house, most things were shellacked instead of stained and polyurethaned. His hunch was accurate – everything in the house is generally finished with amber shellac. I will point out that this stuff is much nicer than stain\poly to work with and turns out a finish that looks more natural and much warmer.
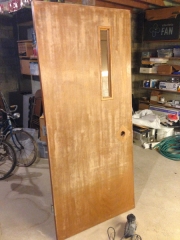
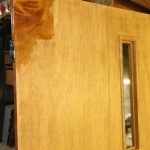
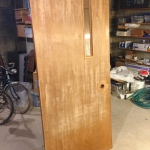
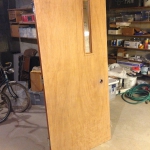
To refinish this door, I took it down into the basement and sanded it. To start I needed something pretty beefy, so I used 60 grit, which will take anything off pretty quickly. I then moved on to 180 and 220 sanding to smooth the surface out. It’s important to note that if you want a uniform finish color, you need to be thorough in terms of what you remove – if your base still has spots of old color, they will show up in your finished product as darker spots.
This project took a few days to complete, but working with amber shellac was much, much easier than stain and poly. Shellac does not smell the same as stain, and it can have a second coat put on within 1-2 hours. It is also a one-step finish – the color and the protectant seal are in the same application. You do not have to stain, then wait, then poly, then wait, then put a second coat of poly on.
Here’s the progress from start to finish:

