Category Archives: bedroom

The Boy’s Room

Happy First Birthday Stephen!

Doug and I had “plan” last year right around this time—finish Stephen’s bedroom over my spring break from school once we knew what we still needed after the baby shower.

Stephen had a different plan. We welcomed him on the day of the baby shower, three and a half weeks early. Hooray! He’s arrived! He’s perfect! He doesn’t have a mattress on his bed, or sheets, or enough clothes to get him through a week. No big deal, babies sleep in their parents’ room for those first few months anyway.
New “plan”: we’ll just spend the first month snuggling him and getting his room finished.

You see where I’m going here? After a 9 day stint in the Neonatal Intensive Care Unit, and roughly 6 weeks of focusing all of our attention on making sure he was gaining enough weight, Stephen still didn’t have a finished room.

Long story not much shorter, Stephen’s room had the final touches completed in February after a trip to IKEA. Starting with the paint choices for upstairs, here’s the timeline behind what we feel is a pretty awesome room for our little boy.

After Doug and I had moved in, we chose a color palette for the upstairs bedrooms that would work in the master as well as rooms we knew would one day be for our kids. The goal for those rooms was to choose a color that would work for a boy or girl, and wouldn’t be outgrown as the kiddo got older. This Valspar paint is called “Ancient Olive”. We’re big on flat finish for rooms because it covers imperfections on the wall. This room stayed empty or held a few miscellaneous items for the months we were finishing the rest of the house and, well, not thinking about babies yet.

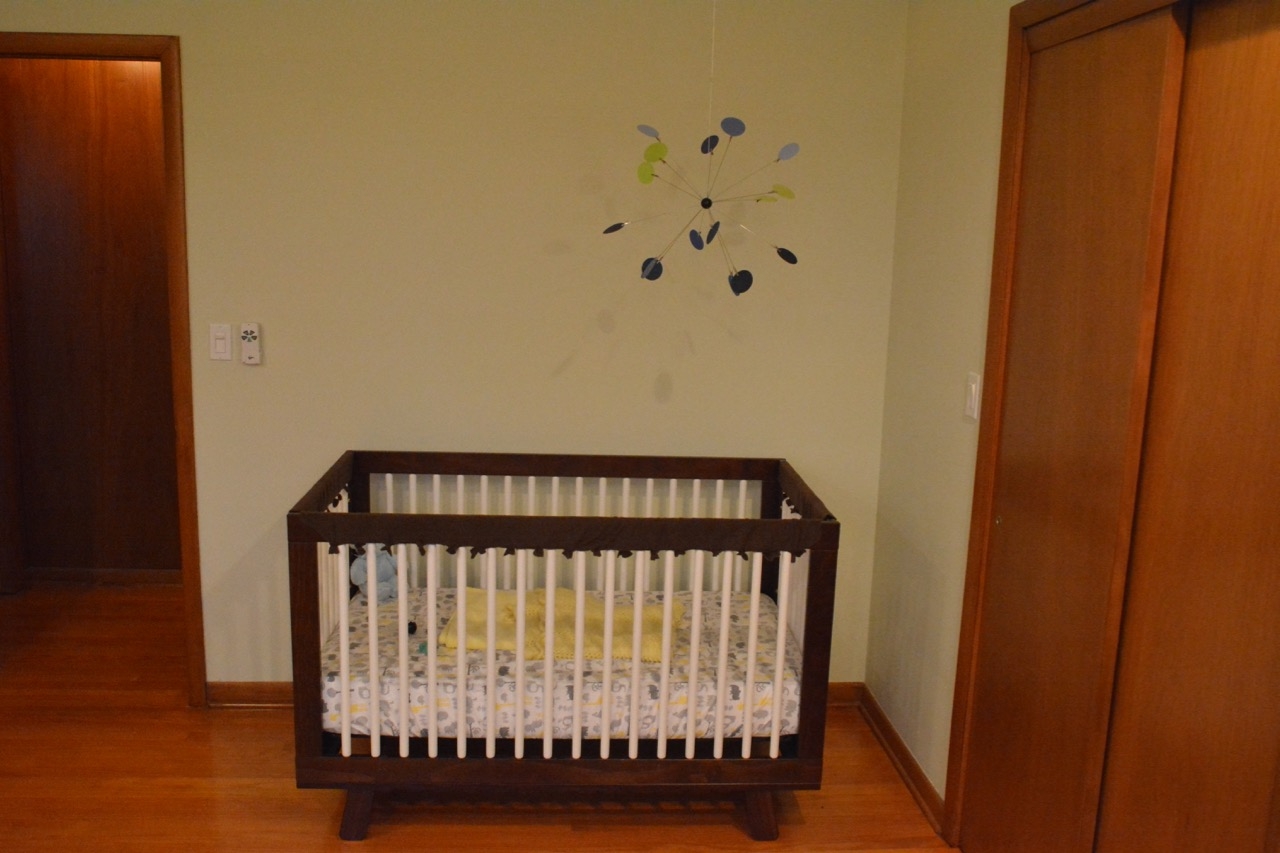
The first purchase for Stephen’s room was a Sputnik mobile from an Etsy shop called mdmobiles. The design was simple and the assembly was even simpler.

Next, we got his crib and changing table as gifts from my mother and sister. As it turns out, matching wood colors to amber shellac is next to impossible. That deep amber color can’t really be replicated with a different stain. The next best thing is to find complimentary wood finishes, and incorporate some white to break up the two different wood shades.

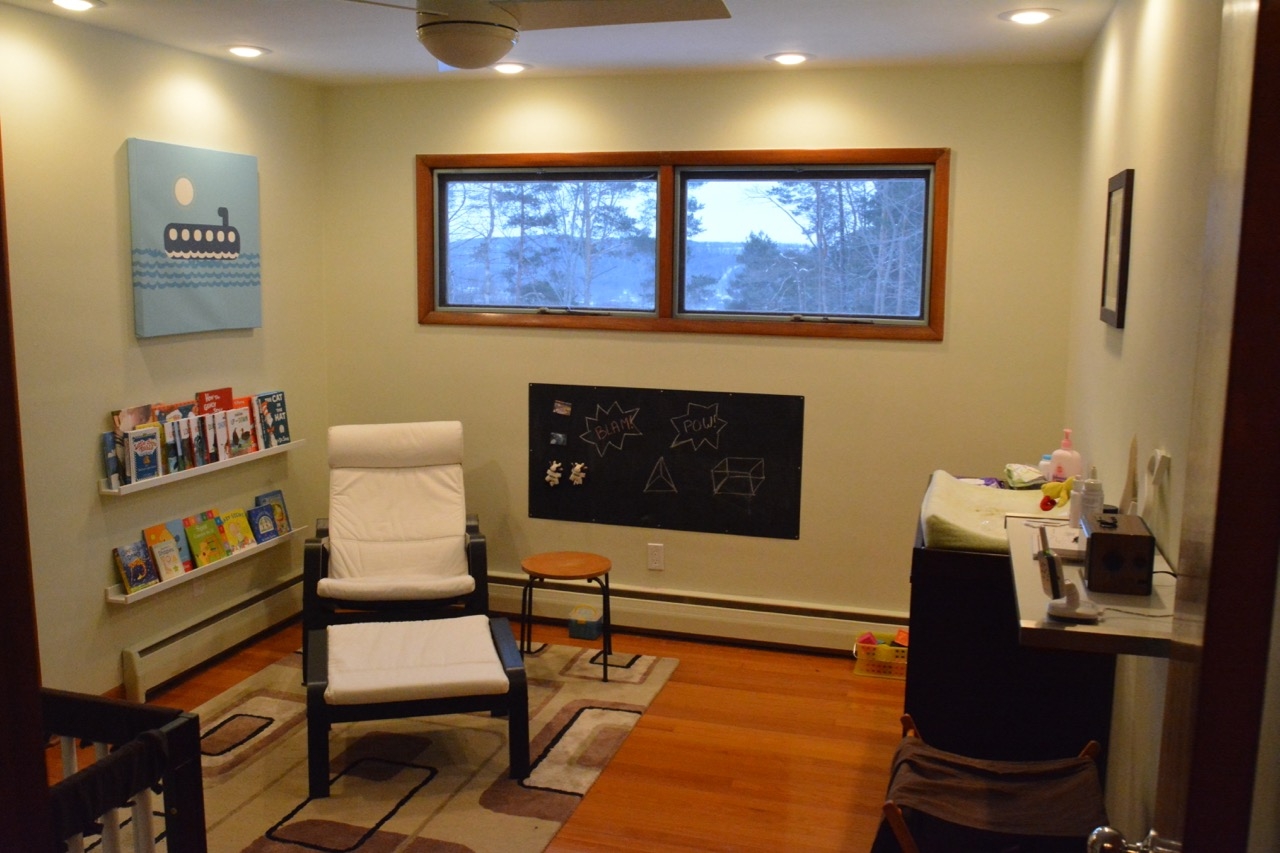
Since almost day one, Stephen has been known as “Scuba Steve” by our family and friends. While we tried to avoid any specific themes for his bedroom, the nickname made it much easier when looking for wall art for his bedroom (at roughly six months). This painted canvas is from the Things that Go collection “Submarining” from avalisa.com

His bookshelves are IKEA Ribba shelving. It was a non negotiable for me to have his book covers visible. They’re still deep enough to stack while still seeing all of the covers. Having two shelves allowed us to put beginner books on bottom and tearable books on the top. The other IKEA purchase in the room is the POANG rocking chair.

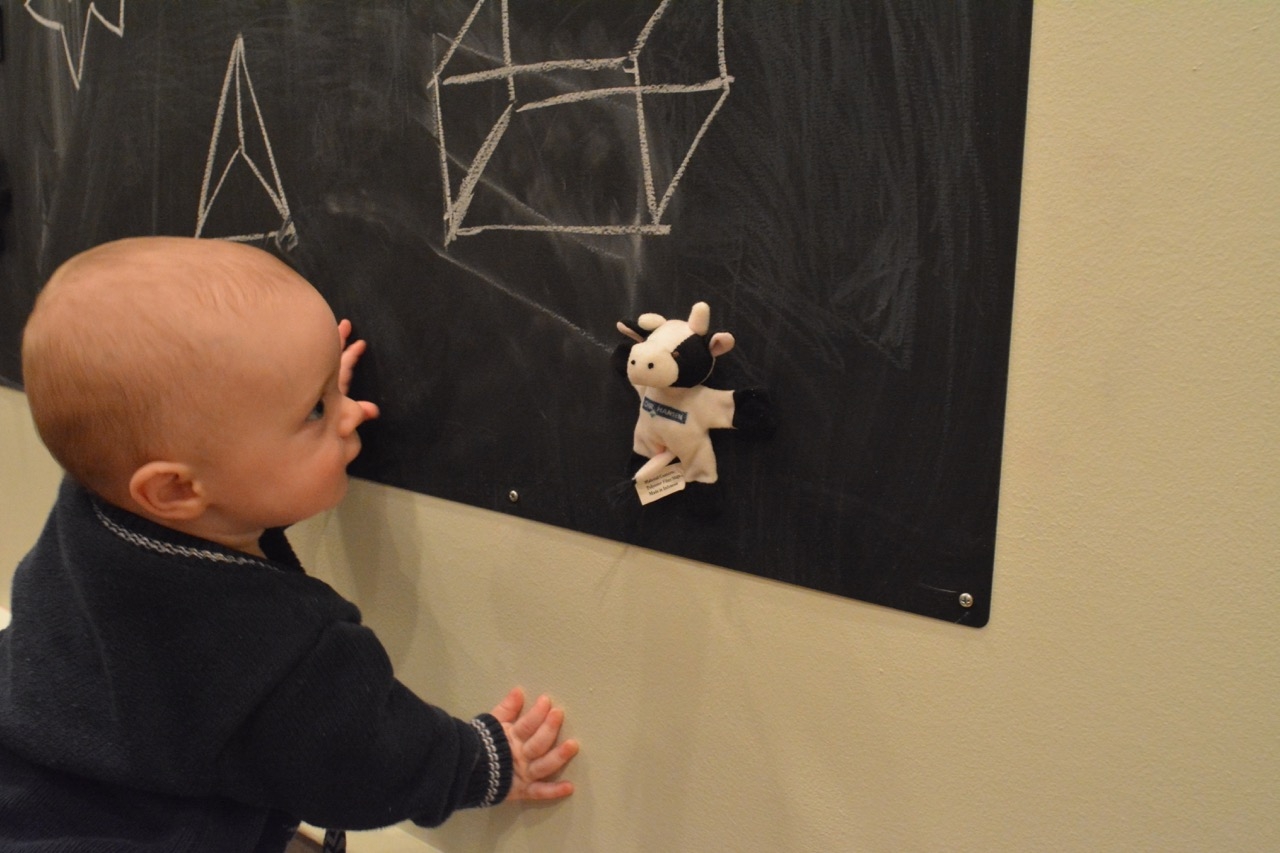
Finishing out the room is the chalkboard wall. Doug used a magnetic metal sheet and painted it with chalkboard paint. So far, he and I have had a blast writing on it. Eventually, another RIBBA shelf will be added as a chalk tray.

Enjoy your room, Stephen! We’re never changing it.


Boom Shellac-Laca

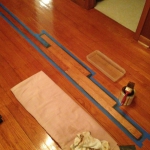
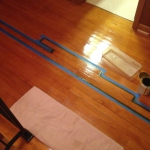
One day shortly after moving into the house, my father in law was over and we got to discussing the fact that I was having a hard time matching the color on the floor with stain for a few spots that needed some touching up. He pointed out that given the age of the floors, they may very well be finished with amber shellac instead. I did some quick research and picked up some from the store. I tried it out and it turns out he was exactly right.

Shellac flakes

Shellac in flake form

What is shellac, you may ask? Well, shellac is a natural resin that has been used for a very long time (centuries, I believe) as a protectant for various items, not just wood. It is produced by insects and harvested as flakes. To use it, the flakes are dissolved in denatured alcohol so it can be spread evenly on a surface. You can order the flakes and make it yourself, but it is usually just as easy to purchase it pre-mixed locally, unless your needs are very specific (like you need a unique color)

Up until the 1950s with the advent of polyurethane, shellac was one of the most popular wood finishes. It is all natural, goes on quickly, and dries very hard and durable. Polyurethane is technically more durable, but is has a somewhat “plastic” look (because it is a plastic coating.) Also, if you have worked with polyurethane you know the fumes are terrible and you have to wait a very long time (up to 24 hours) between coats.

Pre-made shellac

Pre-made shellac

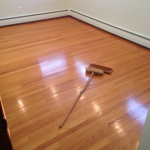
Of course, this meant that I had to shellac all the wood floors in the house.

Because I’m using shellac, this isn’t quite as big of a project as you may think. Unlike polyurethane, when you have a shellac coating, you can simply add another coating on top of the existing – you do not have to strip, re-stain and then put down a new top coat. Shellac, including the stuff on your floor already, can be re-dissolved with denatured alcohol. So when you add a fresh coat, what is actually happening is it slightly melts the original coat, blends them together, and they harden as one single topcoat.

Other cool things about shellac:
1. You can thin shellac as needed with more denatured alcohol.  When you thin it, it makes it more runny and easier to apply evenly to a horizontal surface like a floor without getting “lap marks” (lap marks are the places where you did two strokes side by side and you can see where they overlapped.)
2. Shellac is able to be re-coated in as little as one hour.
3. Shellac is all natural – denatured alcohol has a low odor and unlike polyurethane, you do not have to clear the room for a day while applying it. The alcohol (denatured alcohol is basically distilled spirits with a chemical to make it taste terrible) evaporates away, leaving nothing but the shellac resin when dried.
4. When you have a scratch, you can brush a little bit of denatured alcohol over the spot and it will melt the existing shellac and allow you to “patch” the scratch relatively easily.

It took about two weeks to do all the floors in the house. I went through first and ensured that any nail holes leftover from the carpet tack strips were filled, then I just tackled one room at a time. To do a project like a floor, a lambswool applicator is a must – they are cheap and allow you to do the entire floor in minutes.

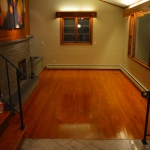
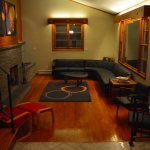
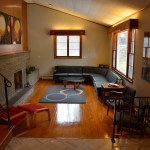
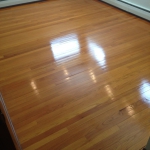
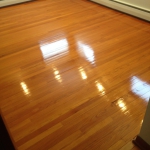
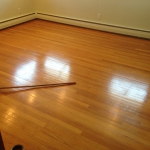
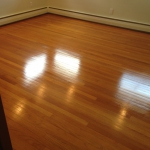
Here’s the before and afters for various rooms:


Details, Details…

When it comes to the renovation work, I’m a stickler for the details – the little finishing components that help unify and bring together everything you see. They are what really completes a project and brings your original vision into focus. Here are some of the details around our house that you might not notice at first, but they were carefully considered:

Bench legs – We have a fabulous kitchen banquette. It sits on ten short legs. They were originally gold in color – and made in Yugoslavia. The caps were rusty and they were clearly well-used, since they were original from 1961 or so when the bench was built. As part of finishing the kitchen remodeling, we got the bench recovered but I knew I also needed to tackle the legs. I could have found some new ones, but decided to see what I could do with what we had. Using the bench grinder and wire brush set on the workbench in the basement (thanks Grandpa Rynkus!), I stripped the wood, cleaned the metal, and eventually stained and repainted them. They now look like this:

Continue reading

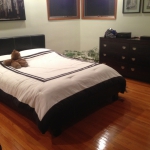
Master Bedroom – Before and After

Shortly before moving we, we were fortunate to be able to get some work done in the upstairs bedrooms – cleaning and painting – so that we didn’t have to sleep in the middle of a construction zone. We spent some time researching colors for the house (more on that in a different post) with a friend who does some interior design work, Keith Weston at Upstate Office Furniture (Full disclosure: we did their website. :))

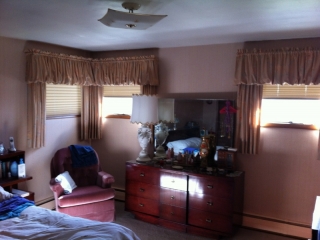
As you may recall, the bedroom looked like this before:

Continue reading