New Heritage Perennian Dining Room Buffet

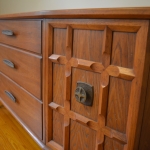
I’ve been pretty remiss in posting, but I’ve got a lot of stuff to share on here. One thing we did pick up recently is this beautiful midcentury buffet. It may look a little familiar to those who read the blog – it’s the same one my grandparent’s had here for over 50 years. This is one of the buffets from the Heritage Perennian furniture collection. This furniture is not super common, so it took some patience and waiting for a piece to come available online. This particular one came from Los Angeles and there were chairs from the same set that I’m in the process of reupholstering as well. 

The Perennian line is a bridge collection between traditional style and full midcentury modern and takes a number of cues from Danish furniture. The pieces are all hardwood with a variety of accents. This particular piece is mostly walnut with “wormy chestnut” insets on the doors. Wormy chestnut is just chestnut wood that was harvested after the trees were infested with bugs from being killed by the chestnut blight in the middle of the 20th century. As there were large stands of now-dead chestnut that had imperfections, it was marketed as “wormy chestnut” and used as an accent piece in a lot of furniture until the supplies were exhausted, making use of what would otherwise have been considered undesirable lumber.

Let’s Build A Shed, Part 1

Last spring (in 2015), I was browsing online and for some reason was thinking about a shed, so I looked online and saw some plans for one. I showed them to Mary, and she immediately said “Oh, I can help you build that!” I’m pretty sure that you have already deduced what happened next.

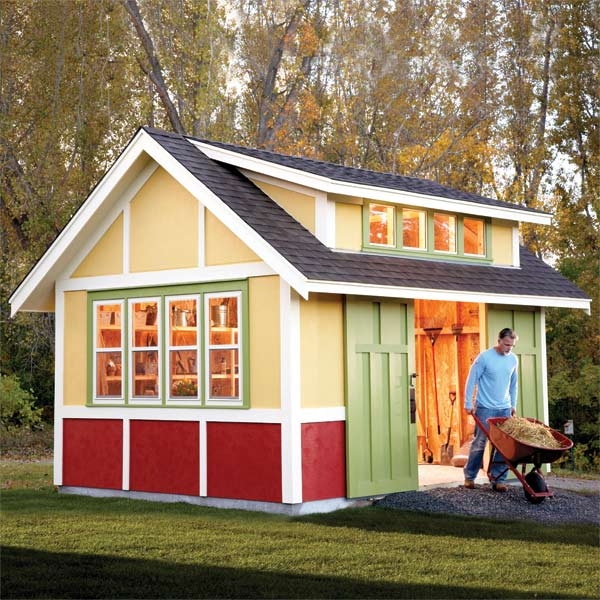
On Facebook, I like a page for a magazine called The Family Handyman. Each year they build a different shed and share with everyone the construction plans and materials list so you can build it yourself. This is the shed that we chose, with a modified exterior to more closely resemble the house. It is 12 x 16:

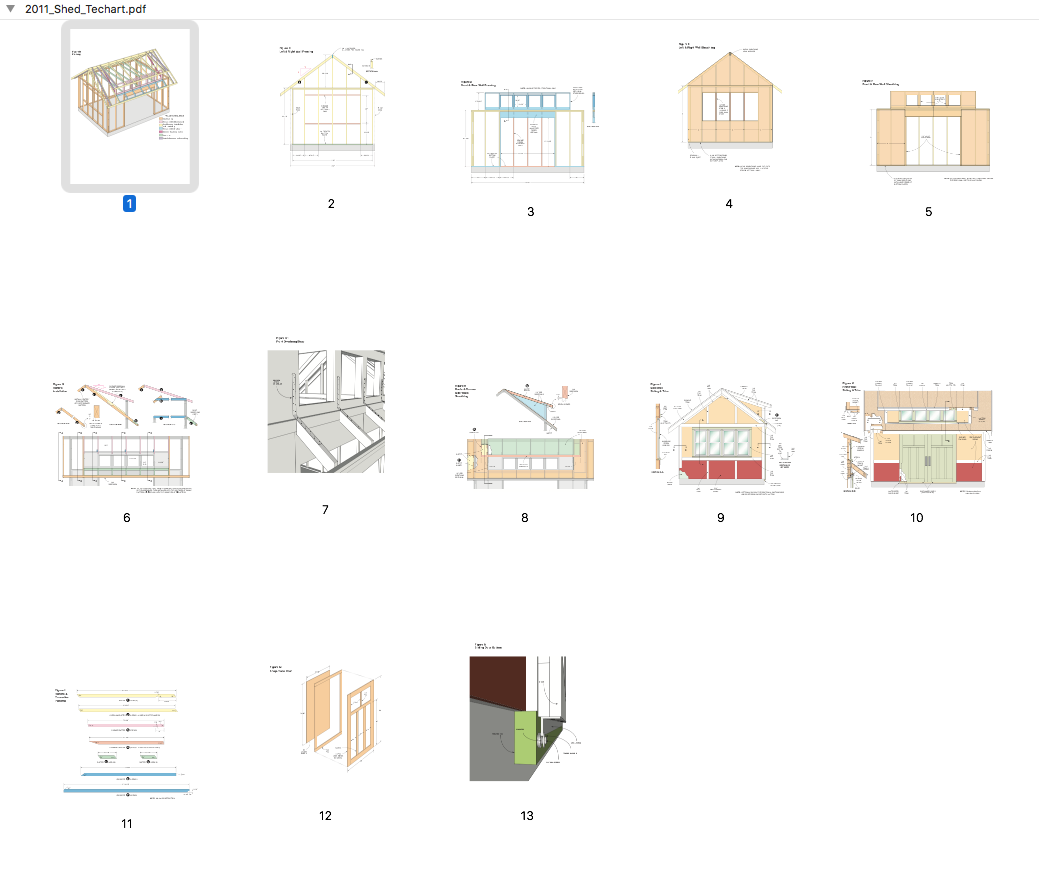
The construction plans include very detailed information, making construction relatively straightforward:

Our plan was to build the shed over the summer, so I had about a month to prepare everything – work the materials list, get quotes for everything, haggle over said quotes, etc. In addition, last summer my oldest nephew Tyler (12)  was coming to visit us for a few weeks as well from Austin – we asked him if he wanted to build something from scratch, and he was pretty excited (he was going to get to use the air tools, after all), so we now also had a project to work on too.

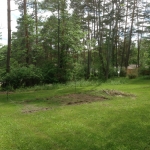
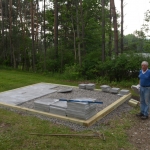
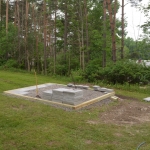
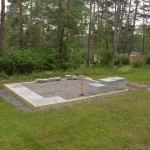
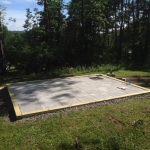
Aside from working out the materials, I also needed to prepare the site. We placed the shed roughly on top of the location of our 2014 pig roast pit,  and I had to grade the soil a bit. After looking up foundations (and understanding the tax implications of each), we decided to build a floating 6×6 foundation on crushed stone. There is a tax trick here – if you build it on, say, a concrete pad, the shed becomes a “permanent structure” and gets added to your property taxes. A shed that is not attached to the ground (technically movable) does not.

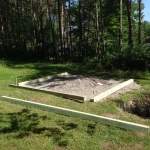
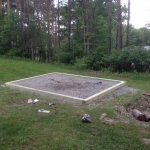
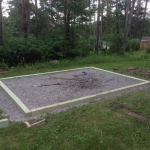
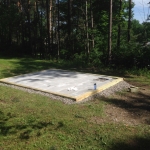
We got the site prepped and the foundation\floor built in the weeks before Tyler arrived – I ordered about 9 tons of crushed stone, leveled that out, and then laid out the 6×6 framing and used large lag bolts to pull everything together and squared it up. Once this frame was built and resting level, I filled the inside with additional stone. For a floor, we used a 2×2 concrete paver laid directly onto the stone and tamped down until it was level and no wobbly. Mary helped with this, and Stephen got his hand in for help as well. Even our neighbor Bob stopped over periodically to do some of the heavy lifting work. The advantage to this floor style is that it is not particularly susceptible to frost heaving, and any water that gets on the floor simply runs down through the crushed stone.

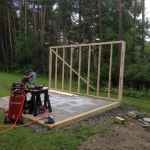
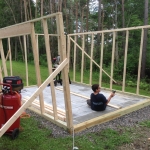
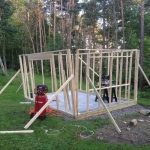
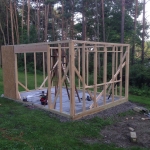
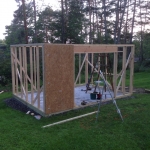
Once Tyler arrived, he and I went and picked up the materials from Home Depot (after some negotiating and back-and-forth between various home centers for the business) and the three of us got to work. Tyler was a big help, and by the time he left in two weeks, we had built the four walls and begun to put on the base sheathing.

Here are the progress pictures – watch for Part 2.


New Sputnik and Interior Ceiling Repair

Once we completed putting on our new roof, I was able to move back inside to fix some water damage to our living room ceiling as well add a new sputnik light in the foyer. I was a bit under the gun – the new roof was done in mid April, and I only have about three weeks to get everything else taken care of so that Mary could host a bridal shower for one of her good friends at the house in early May.

Fortunately, repairing the ceiling is a straightforward process – the tile was replaced by my Grandparents in 1995 with Armstrong Grenoble 12×12 tiles. Armstrong still makes that tile, so I picked up a fresh box to have enough to replace the tiles I wanted as well as have some extra on hand for the future. The tile along the chimney had separated from the furring strips over the years from getting wet a few times as well, which is why I decided it was best to replace all of the tile down the line. Here’s what the water leak from the roof did to the ceiling (this was just the worst – there were spots in a few other places but they just got painted over):

The first step is take down the existing tile, which is mostly just carefully tearing them out so as not to damage adjacent tiles. I opened up the top two rows nearest the chimney, then worked backwards to install the replacement tiles and staple them into place. I did have to make a minor adjust to one tile on each row to shorten it just slightly – probably a slight width difference between the 1990s version tiles and the new ones, even though “technically” they are the same:

One installed, they got primed and painted and you wouldn’t know there was ever an issue:

In addition, I took this chance to install a brand new sputnik light fixture. When you walk into the house, there is a small entry vestibule that then opens into the foyer. The foyer has our 18 arm sputnik chandelier, but the vestibule was always a bit dark. I decided to fix this by adding a small 5-arm Sputnik fixture from Practical Props – specifically the CF11-CH model, using starlite bulbs. A few years ago when we moved in, I sent photos of the original 6-light Sputnik fixtures that were in the house to Ian, the owner, to see if he could replicate something similar. It took him awhile, but this was the result. Because I wanted to have it function in conjunction with the foyer light, when the roof was off I ran a new wire from the ceiling box of the chandelier to this new fixture box. It took a few days to get used to it, but the light looks like it always should have been there, and the vestibule is now well lit.


Up On The Roof

Finishing a story that began in our last post, we needed to put a roof on the house this spring. When we moved in we had the roof evaluated, and knowing that the existing roof was put on in 1994, we felt we would have about 7-9 years before we had to replace the roof ourselves. But, that’s the fun of owning a house – not everything works out as planned.

To recap from the last post: This winter we started getting significant spots on the living roof ceiling, indicating that water was leaking. At one point, there was water running down the outside of the large living room window as it would run down the rafters, then drip out of the soffits. One of my neighbors owns a Real Estate office and does some property management (and happened to have his roof replaced six months earlier), so I asked him for some recommendations. Ultimately we chose to use a father-son duo (Struble & Son Construction) with about 20 years experience and a specialty in roofs who was also willing to work with me on my plans for insulating the ceiling structure. When we looked in the attic, it was apparent the problem was pretty significant and not a quick fix, so they put a tarp on the roof to stop the existing water infiltration, and then when it got warm in April, we started to do some work.

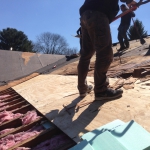
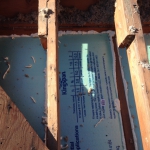
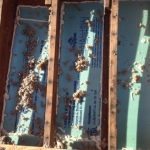
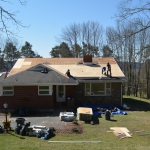
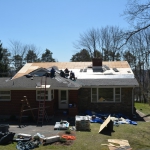
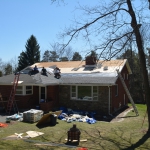
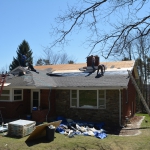
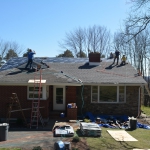
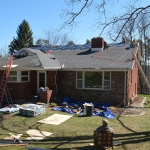
With a warm week in April, the work got started in earnest. The first step was peeling off the roof and bad roof decking over the cathedral ceiling area to get access to the attic space. The cathedral ceiling allows a lot of heat to percolate up to the roof deck, which causes the snow to melt, leading to ice damming problems. It also meant that we were losing heat (or cool) through that ceiling. I wanted to fix both of these. Originally, we thought that once we opened the roof deck up we were going to find the existing insulation was wet and would have to be trashed. But fortunately, that turned out to not be the case. (Yay! Saved $400 in insulation cost!) We did, however, have to pick out quite a bit of blown cellulose in certain spots, which was contributing to the problems in the roof by preventing proper airflow. In the pictures you can see how damaged the roof decking was in these areas. With the roof deck opened up, and once the cellulose was removed (not fun), we cut 1 inch foam boards to fit on top of the existing fiberglass insulation and then completely air sealed them into the cavity using canned spray foam. This approach lets me guarantee that there is a space above the ceiling and below the roof deck for air to freely flow across. It also ensures that no air from the living space can seep upward to the bottom of the roof deck – so, the ice damming issues should be resolved (we’ll know next winter for sure.)

Because I’m that kind of guy, I was not just supervising this work, but doing most of the insulation work with the contractors. I’m a stickler like that, and I like knowing what actually happened before things get closed up. While the roof was opened, I also took the time to run a wire to add a new sputnik light to the entryway of the house, too.

As we moved through the project, one other thing we were really trying to figure out is what exactly failed with the old roof. Most people point to the chimney – but it was clear from the water pattern and from taking things apart that water was not leaking at the joints in the chimney. The only logical candidates were a general failure of the shingles from old age and an issue with the ridge vent that let water filter underneath the roof. For us, that’s good news in a silver lining way – it meant that short of what we were doing to replace the roof, there was likely nothing else we could have really done to fix it aside from replacement.

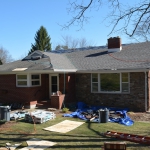
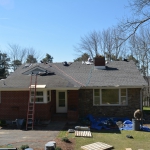
The whole project took two and a half days, and I feel the shingles really complement the look of the house now that they are installed. For our project, we chose to use IKO Cambridge AR shingles in the “Patriot Slate” color – this is a mostly dark gray shingle with flecks of red that are the same color as our brick. We added ice and water protector about 8 feet up the cathedral ceiling roof just in case there are any issues in the future as well.

Once this project was completed, next was to get back inside the house and repair the water-damaged living room ceiling (fortunately this is a tiled ceiling using Armstrong Grenoble 12×12 ceiling tile, and to add a new small sputnik light from Practical Props. More on that work in the next post.

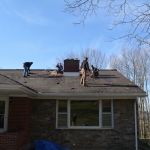
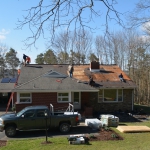
Here’s a set of progress shots of the roof, and a before\after:

Our House Has a Poncho

Continuing the story of unexpected homeownership expenses – we are going to be getting a new roof this coming week.

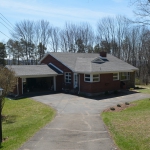
The roof on the house is the second roof, my grandparents had a full tear off done in 1994, so this roof is 22 years old. I had it inspected before we bought the house and the shingles were in good shape, looking like another 10 years of life. Even now, the shingles are in good repair and have another 5-7 years of life in them, but we have a different problem – somewhere above or around the chimney area of the roof, there is a leak. This has always been a problem in the house, one my grandparents tried to address in the past too, but something was missed.

We knew there was at least a small leak somewhere, as every few years we would get a very small water spot on the living room ceiling that needed to be addressed. But since it was so infrequent and inspection didn’t reveal anything, we just rode it out. Unfortunately, our luck ran out this winter, as the leak became acute. Just a regular rainstorm would lead to an excessively wet spot on a ceiling tile and\or water running down the front of the house as it ran down the rafters to the soffits. Inspection in the attic showed that there was clearly a problem that, left untreated, was going to get out of hand quickly (mold, etc.)

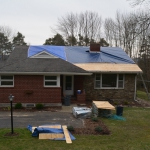
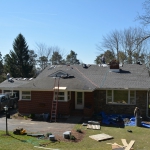
To prevent things from getting worse, I had the roofers stop by and put a big tarp on the roof, to make sure that the water intrusion stops and give a healthy amount of time for any wet areas to thoroughly dry out. In the meantime, our house is wearing a poncho.

As with all projects around here, there is a “while we’re in here” project to be addressed – properly insulating the cathedral ceiling. In short, this ceiling has never been correctly insulated, leading to ice damming issues, etc. So we’re fixing that too. And I’m going to add a sputnik light to the entry space. You know, while I’m in there and all.

This weekend I’ve been buying the supplies needed to do the insulation project and coordinating with the roofing contractor about how to get it accomplished. If the weather holds out, we should have a new roof, tightly insulated ceiling, and new sputnik light by this coming weekend.