Finishing a story that began in our last post, we needed to put a roof on the house this spring. When we moved in we had the roof evaluated, and knowing that the existing roof was put on in 1994, we felt we would have about 7-9 years before we had to replace the roof ourselves. But, that’s the fun of owning a house – not everything works out as planned.
To recap from the last post: This winter we started getting significant spots on the living roof ceiling, indicating that water was leaking. At one point, there was water running down the outside of the large living room window as it would run down the rafters, then drip out of the soffits. One of my neighbors owns a Real Estate office and does some property management (and happened to have his roof replaced six months earlier), so I asked him for some recommendations. Ultimately we chose to use a father-son duo (Struble & Son Construction) with about 20 years experience and a specialty in roofs who was also willing to work with me on my plans for insulating the ceiling structure. When we looked in the attic, it was apparent the problem was pretty significant and not a quick fix, so they put a tarp on the roof to stop the existing water infiltration, and then when it got warm in April, we started to do some work.
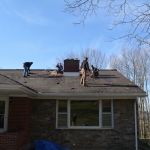
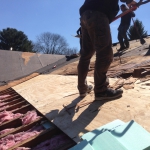
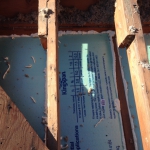
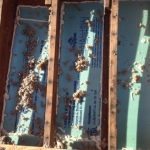
With a warm week in April, the work got started in earnest. The first step was peeling off the roof and bad roof decking over the cathedral ceiling area to get access to the attic space. The cathedral ceiling allows a lot of heat to percolate up to the roof deck, which causes the snow to melt, leading to ice damming problems. It also meant that we were losing heat (or cool) through that ceiling. I wanted to fix both of these. Originally, we thought that once we opened the roof deck up we were going to find the existing insulation was wet and would have to be trashed. But fortunately, that turned out to not be the case. (Yay! Saved $400 in insulation cost!) We did, however, have to pick out quite a bit of blown cellulose in certain spots, which was contributing to the problems in the roof by preventing proper airflow. In the pictures you can see how damaged the roof decking was in these areas. With the roof deck opened up, and once the cellulose was removed (not fun), we cut 1 inch foam boards to fit on top of the existing fiberglass insulation and then completely air sealed them into the cavity using canned spray foam. This approach lets me guarantee that there is a space above the ceiling and below the roof deck for air to freely flow across. It also ensures that no air from the living space can seep upward to the bottom of the roof deck – so, the ice damming issues should be resolved (we’ll know next winter for sure.)
Because I’m that kind of guy, I was not just supervising this work, but doing most of the insulation work with the contractors. I’m a stickler like that, and I like knowing what actually happened before things get closed up. While the roof was opened, I also took the time to run a wire to add a new sputnik light to the entryway of the house, too.
As we moved through the project, one other thing we were really trying to figure out is what exactly failed with the old roof. Most people point to the chimney – but it was clear from the water pattern and from taking things apart that water was not leaking at the joints in the chimney. The only logical candidates were a general failure of the shingles from old age and an issue with the ridge vent that let water filter underneath the roof. For us, that’s good news in a silver lining way – it meant that short of what we were doing to replace the roof, there was likely nothing else we could have really done to fix it aside from replacement.
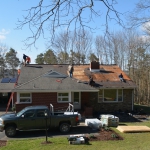
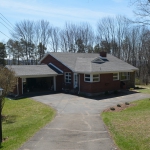
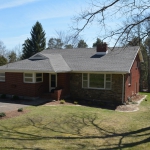
The whole project took two and a half days, and I feel the shingles really complement the look of the house now that they are installed. For our project, we chose to use IKO Cambridge AR shingles in the “Patriot Slate” color – this is a mostly dark gray shingle with flecks of red that are the same color as our brick. We added ice and water protector about 8 feet up the cathedral ceiling roof just in case there are any issues in the future as well.
Once this project was completed, next was to get back inside the house and repair the water-damaged living room ceiling (fortunately this is a tiled ceiling using Armstrong Grenoble 12×12 ceiling tile, and to add a new small sputnik light from Practical Props. More on that work in the next post.
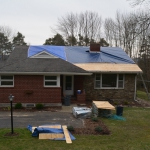
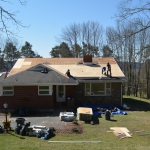
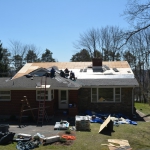
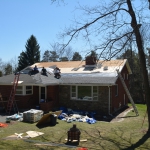
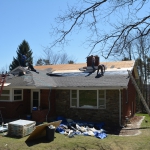
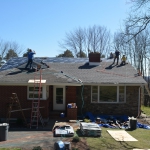
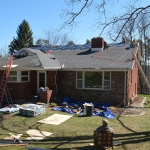
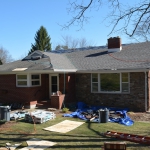
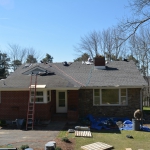
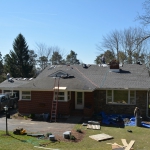
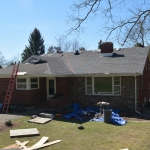
Here’s a set of progress shots of the roof, and a before\after:

Looks like you did all the right things. The key is to allow cold air to exhaust the attic in the winter and prevent the warm air from melting the snow. This winter you can see how long the snow sits on the roof compared to your neighbor’s roof. I assume your soffits have enough vents to allow this. The first thing I did on my place was to remove the solid aluminum soffits, cut holes in the original wood soffit and cover with vented vinyl soffits. Then added an attic exhaust fan on the roof and built a wood curb around the pull down stair, built a covered wood hatch and added insulation. I assume the tile ceiling does not have a gyp. bd. ceiling above it, so warm air must have easily escaped. Looks like the inside ceiling slope is flatter then the roof slope. The ice shield is plenty deep, usually 4 feet is enough.
John – Yep, that’s exactly how we approached the roof. I know now that the whole roof deck has excellent ventilation and we minimized the air transfer from the interior cathedral ceiling to the roof deck. When the vinyl soffits were installed on our house in the mid-90s, they cut holes in the original wood as well. Our house has attic insulation of about R-60 as a combination of original rock wool (R-20 or so) and 14 inches of blown cellulose on top of that. You’re correct – no gypsum board above the tile, it’s just tile attached to furring strips that are attached to nailing rafters. And yeah, the ceiling slope is less than the roof slope. You can see it in the cross section of our house plans (found here: http://houseonrynkushill.com/2013/09/04/our-mid-century-split-level-house-plans/ )
As a side note, our house is “just” old enough that it has a type of transition interior board called rock lath. They put up 1/4 gypsum board and then put 1/4 of plaster lath on top of it. We have incredibly hard and durable walls because of it, which is awesome.
My 1955 rancher has walls with 1/2″ gyp. bd. with about 1/4″ plaster finish, yes very hard. The exterior walls are 4″ brick and 4″block with a brick header course every 6 courses, this ties the two walls together, very typical 1950’s work in Richmond Va.