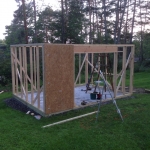
Last spring (in 2015), I was browsing online and for some reason was thinking about a shed, so I looked online and saw some plans for one. I showed them to Mary, and she immediately said “Oh, I can help you build that!” I’m pretty sure that you have already deduced what happened next.
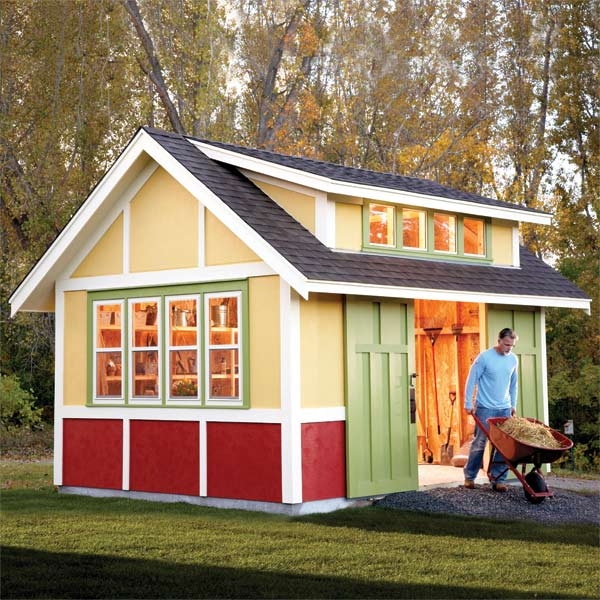
On Facebook, I like a page for a magazine called The Family Handyman. Each year they build a different shed and share with everyone the construction plans and materials list so you can build it yourself. This is the shed that we chose, with a modified exterior to more closely resemble the house. It is 12 x 16:
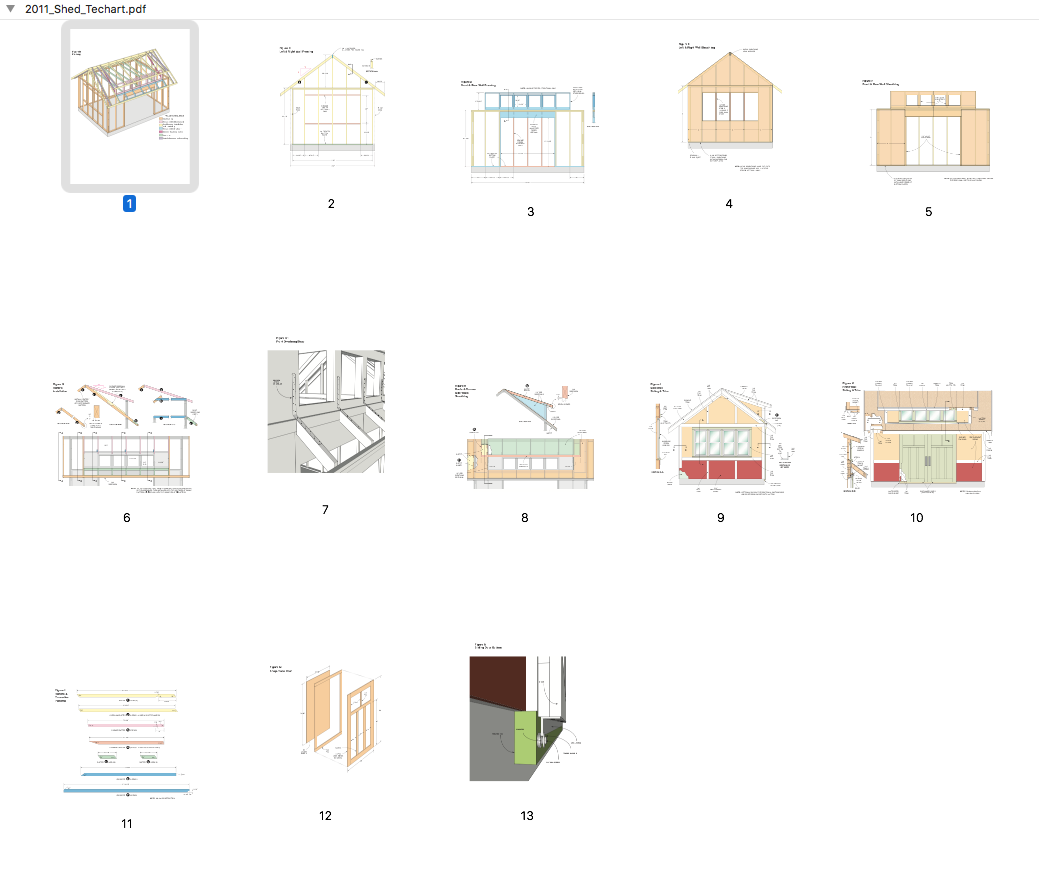
The construction plans include very detailed information, making construction relatively straightforward:
Our plan was to build the shed over the summer, so I had about a month to prepare everything – work the materials list, get quotes for everything, haggle over said quotes, etc. In addition, last summer my oldest nephew Tyler (12) was coming to visit us for a few weeks as well from Austin – we asked him if he wanted to build something from scratch, and he was pretty excited (he was going to get to use the air tools, after all), so we now also had a project to work on too.
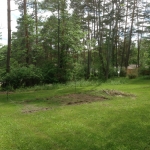
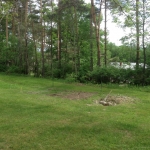
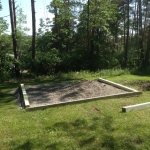
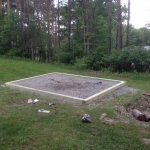
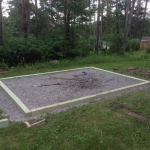
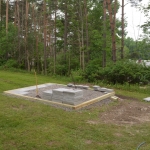
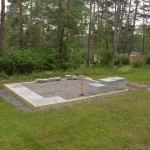
Aside from working out the materials, I also needed to prepare the site. We placed the shed roughly on top of the location of our 2014 pig roast pit, and I had to grade the soil a bit. After looking up foundations (and understanding the tax implications of each), we decided to build a floating 6×6 foundation on crushed stone. There is a tax trick here – if you build it on, say, a concrete pad, the shed becomes a “permanent structure” and gets added to your property taxes. A shed that is not attached to the ground (technically movable) does not.
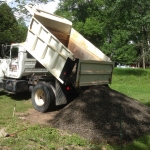
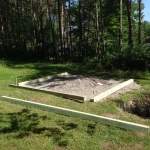
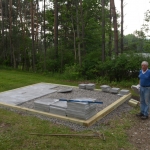
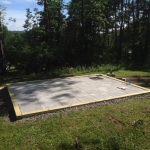
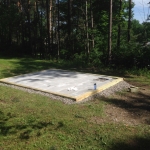
We got the site prepped and the foundation\floor built in the weeks before Tyler arrived – I ordered about 9 tons of crushed stone, leveled that out, and then laid out the 6×6 framing and used large lag bolts to pull everything together and squared it up. Once this frame was built and resting level, I filled the inside with additional stone. For a floor, we used a 2×2 concrete paver laid directly onto the stone and tamped down until it was level and no wobbly. Mary helped with this, and Stephen got his hand in for help as well. Even our neighbor Bob stopped over periodically to do some of the heavy lifting work. The advantage to this floor style is that it is not particularly susceptible to frost heaving, and any water that gets on the floor simply runs down through the crushed stone.
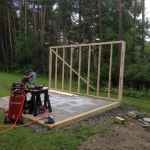
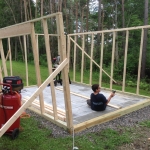
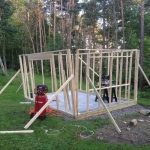
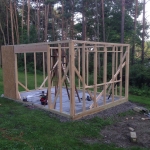
Once Tyler arrived, he and I went and picked up the materials from Home Depot (after some negotiating and back-and-forth between various home centers for the business) and the three of us got to work. Tyler was a big help, and by the time he left in two weeks, we had built the four walls and begun to put on the base sheathing.
Here are the progress pictures – watch for Part 2.

