Category Archives: exterior

House Numbers Are Important

When you live on a dead end street laid out in 1957, one of the cooler things that happens is you really don’t have a complex house number. Ours is 7. That’s right…just 7. That being said, I still wanted to have a house number on the front door. When I come up to someones house that I don’t know and knock on the door, if they have a house number right next to their door it’s just that last bit that tells me “Hey man, you’re in the right spot,” and not knocking on the door of the creepy neighbor who only comes out once a month, abhors daylight and smells like cabbage.

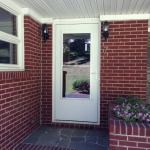
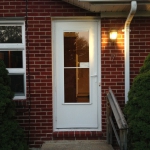
Creepy neighbors aside (we don’t have any, coincidentally. Ours are all awesome.) having a house number on the door I feel is a nice touch. It looks nice and as mentioned helps people at the door confirm they are in the right spot while standing there and it shows you care enough to pay attention to the small details. The other day I put a house number up on both front doors (the “main” front door, and our kitchen door, which also faces the driveway.) These were inexpensive ones from Home Depot, but in a very retro mid-century compatible style. I immediately liked them – I’ve seen these pop up a few times on blogs for other mid-century house folks as well. They are very modern in their lines, so they would be at home on both a “modern” house and a “mid-century” house. Installation was also very easy: Mark the holes, get a masonry bit and drill into the brick the appropriate depth, then set the posts with silicone. The finished number can be either raised or flush – I chose to have it raised.

Here are the results:

The Meadow, Part Deux

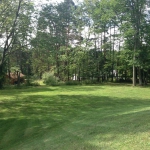
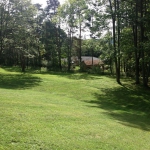
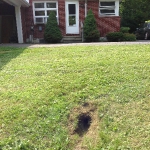
In the spring I posted about the meadow out back, specifically how I was going to work hard to tame this ugly beast this summer. It took most of the summer, and one set of mower blades on the new lawn tractor, but I think I’m most of the way there.

Along the way we have: trimmed and pulled any shrubs and scrub-brush; cut and hauled off a large log and fallen tree; dug out the crushed stone in the middle left by the town about ten years ago; moved trailers of dirt to fill in where said crushed stone was and; in places where I felt it was thin, spread grass seed around.

Having been overgrown for the last ten years it’s a little bumpy still, but I think it will smooth out over time. The week of the wedding our families and friends and their children spent a whole weekend playing on it, so it can’t be that bad.

Here’s the before (April) and after (September):

Our Mid Century Split Level House Plans

Our August was very eventful – Mary and I got married, and then went to Hawaii for our honeymoon. So much so that I only made one update to the blog during August. Now that I have also fixed the uploading problem for images, we’re back in business!

Not too many people have these for their house, much less have them hand drawn by your own Grandfather – but I am in possession of all of the original house plans that were used to construct the house. My grandfather sat down in 1958 and, having decided on a general house that he wanted, put pencil to vellum and whipped off a set of architectural drawings. You may ask if he was an architect? No, he was an electrical and mechanical engineer who worked at IBM as a Manager. But, he was a talented individual and apparently along the way felt he could do this himself. I never got a chance to sit down with him and discuss at length how he came about drawing the house plans, something I wish I had. I envision he probably picked up some books on the subject and studied up and had a bunch of books or magazines on popular house plans to start from.

Continue reading

The Picnic Table

Mary and I are big into hosting people and events at our place. We liked to do it in the loft and, while different, we like doing it here in the new house. Since we have a very large lawn with a great patio out back (something we never had at the loft), we set up a Memorial Day BBQ and invited family and friends.

The BBQ turned out great, but before that we had to do something about our outdoor seating arrangements. We inherited some great wooden patio furniture from my grandparents, but we were missing one critical element: a picnic table.

I resolved I would rectify this situation the only reasonable way one can: I would built it myself. One of the reasons I chose to do it this way, besides the obvious enjoyment of knowing I did it (assuming it came out right and didn’t collapse when people sat on it) was that you really can’t purchase a picnic table with a detached bench anymore. They are all the single piece numbers where the bench and the table are a single unit. Ugh.

That series of tubes, the Internet, provided me with what I needed: sweet plans for your own DIY picnic table. The original plans are from Popular Mechanics and are very easy to follow. I decided to not use pressure treated wood because it’s being used as seating and a table, and pressure treated lumber is loaded with chemicals. We plan to paint the set when finished anyways, which will protect it, and it will be staying on the patio, under cover.

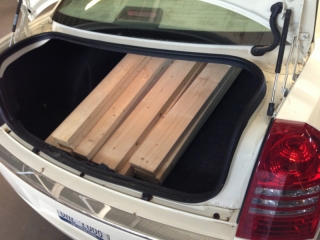
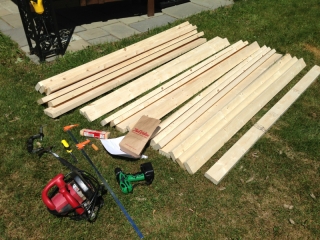
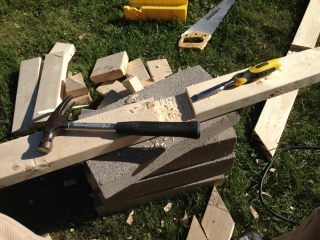
So, off I went to get a pile of lumber and a bag of bolts and screws at the local hardware store. It cost about $100:


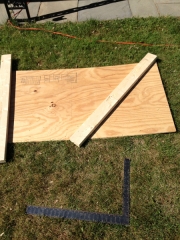
I borrowed a circular saw from my neighbors since I don’t have one yet and set to work in the back yard. The key element from the plan I found was to use the template drawn on a sheet of plywood to mark off the cuts for the legs. It made it much, much simpler.


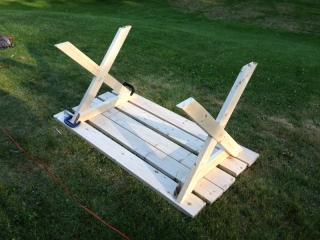
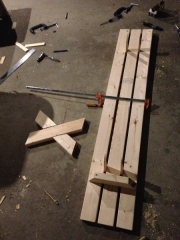
Like any good project, this one took far longer than I anticipated. I began doing this work around noon the day before the BBQ. 14 hours later at 2am, I was finishing in my garage:


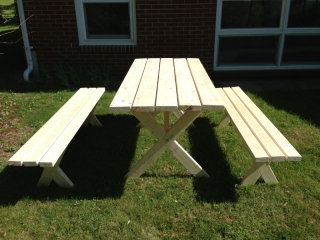
In the end, it all came together. The bench is awaiting its paint, but it looks great and fits in well on the patio. Only one leg was a little bit off, a quick shim nailed to the bottom corrected that:


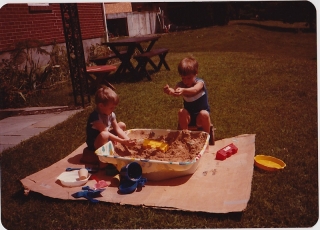
Coincidentally, I seemed to have just rebuilt what was already here:

That’s my brother Derek and I, circa 1984.

Gutter Drain Care

Grandpa had a lot of foresight when the house was built. One of the things he did shortly after the house was built was dig out and put in 3 inch PVC pipes to run the gutter downspouts away from the house. Given that the house sits on a hill, and has fill around the back side of the house, this was a pretty smart option – you run pipe for 10-20 feet and it will come out on the side of a hill. Cleanout is easy – you have access to an open end of the pipe.

A few things have changed over the years. First of all – when the house was built there were very few trees around the house. You could literally see off the hill for miles across the valley. This meant no big leaf-in-gutter problems. Today the property has a lot of tall trees, including a group of four shagbark hickory trees. I assure you – they live to clog up the gutters with leaves, nuts, and sticks they drop. Fortunately this is really only an issue on the front corner of the house.

And there is the maintenance. The gutters themselves need to be cleaned out periodically and the PVC pipes need to be checked to ensure there isn’t anything clogging them either. You also need to keep the output location clear – cut back the grass and every year or two dig out the drain field. If you’re not careful, sediments (or worse, roots) will clog the buried PVC pipe. I had just such a thing happen with the pipe draining the gutter next to the kitchen door. This happens to be the longest one because it runs underneath the driveway, so it is about 50 feet. A few weeks ago I noticed when I popped my head out the door (yes, when it rains I check to see if the gutters and spouts work…) and lo and behold, the pipe sticking out of the ground was overflowing.

After trying several tools that I have on hand – a long stick, the hand-held drain snake and a 100 foot metal drain tape – I was not having success clearing the clog out of the pipe. So off I went to our local tool rental shop and picked up a drain rooter. I want to be clear…this thing was clean, but still had the air of grossness about it. I was cleaning a gutter…but you know it has been used for other work than that. Ick. I did my best to put those thoughts aside and get to the task at hand. It took about an hour of working the rooter, but I did break through and cleared the drain. It cost me $50 – a far cry from the $150 I would have paid the chain of drain repair folks to come out and do it for me. And I learned something in the process.

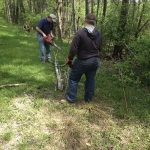
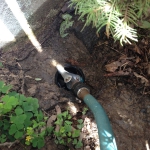
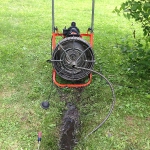
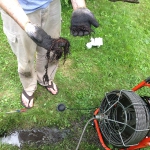
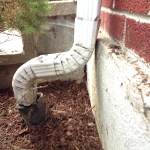
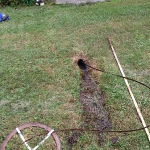
Here are some pictures of my adventure: The dug-out PVC drain end, the drain rooter, the roots that I pulled from the pipe, and the completed downspouts to give you an idea of what I’m talking about. Additionally, one of the shorter runs had a clog too – fortunately no drain rooter needed there. It was a seven foot run and cleaned right out with a  bit of work by the metal drain tape.