In my last post, I started a two-part story of the big summer 2014 landscaping project. This project had a lot of moving parts in it, primarily because once started, there were a bunch of related projects that “while we’re in there” may as well be taken care of.
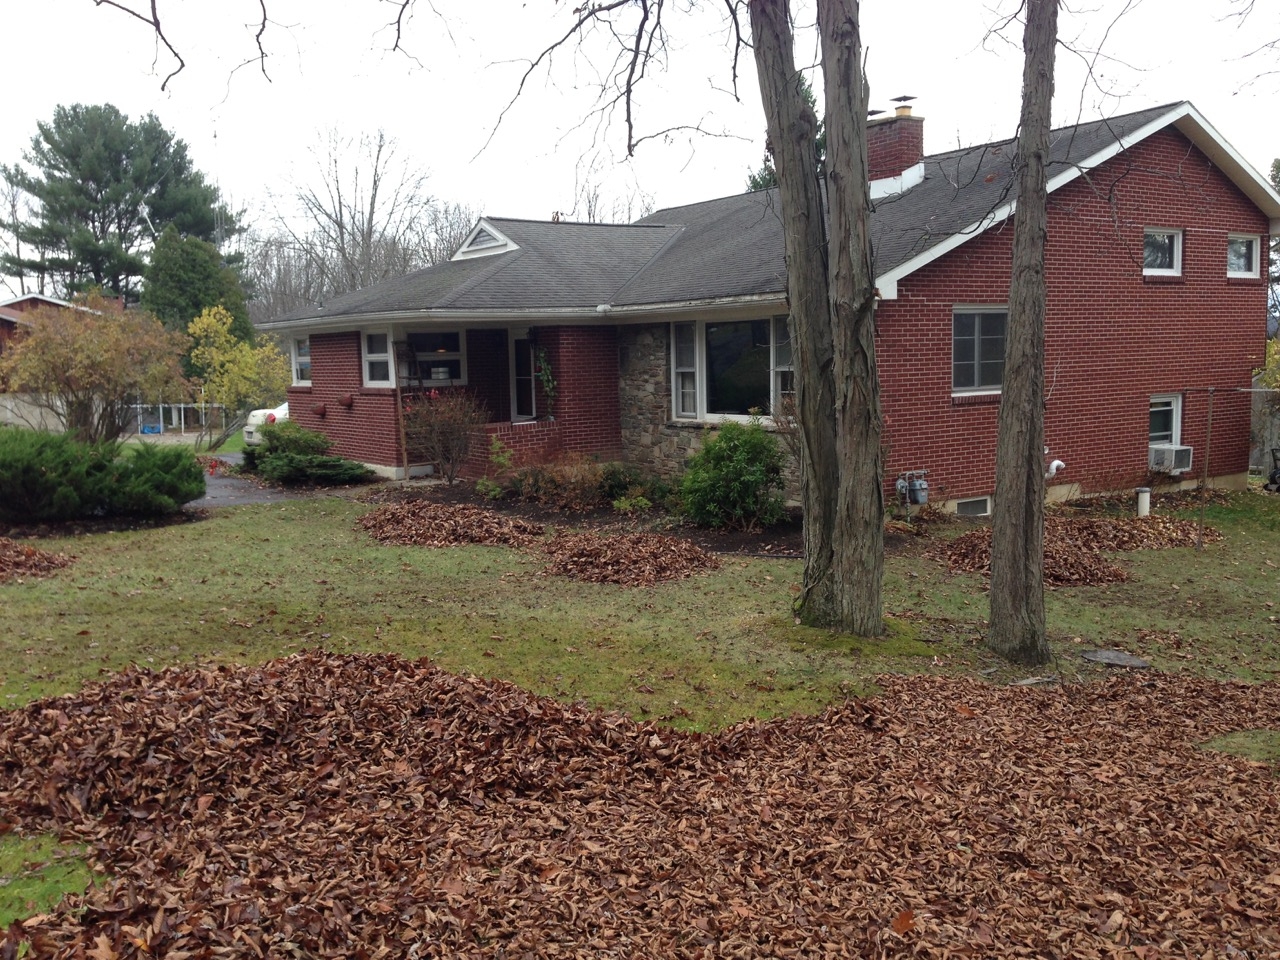
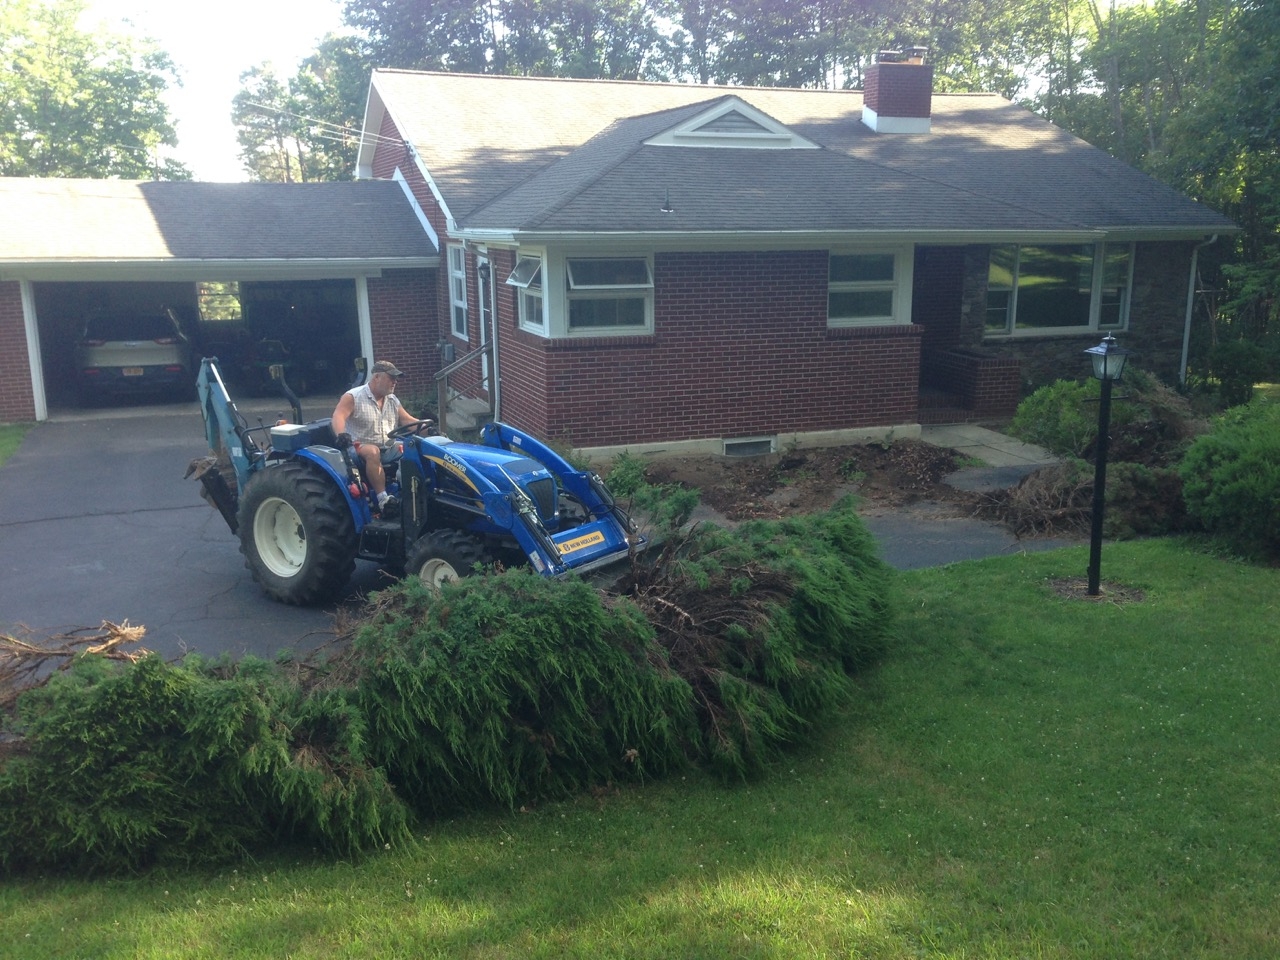
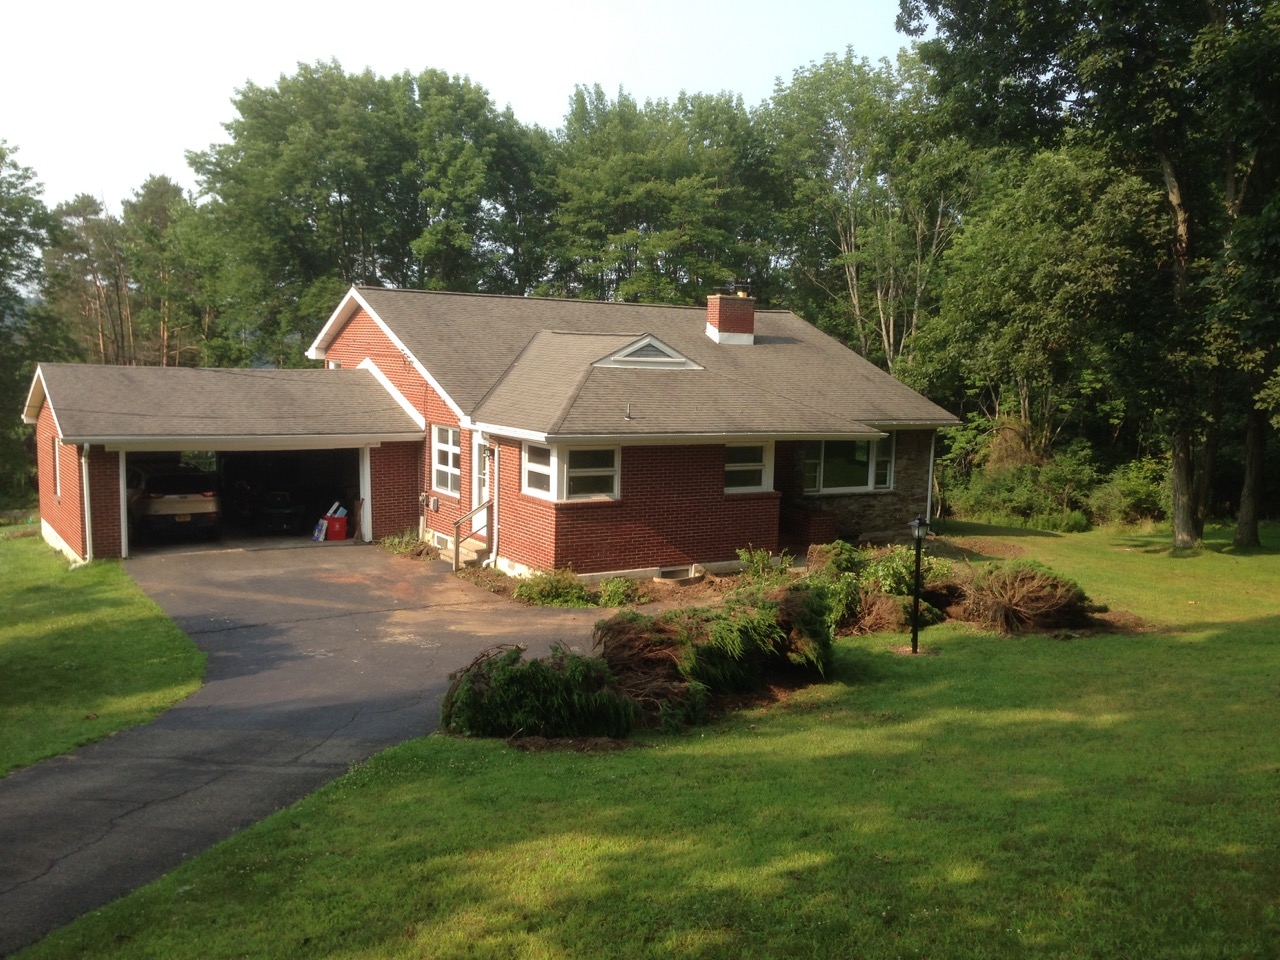
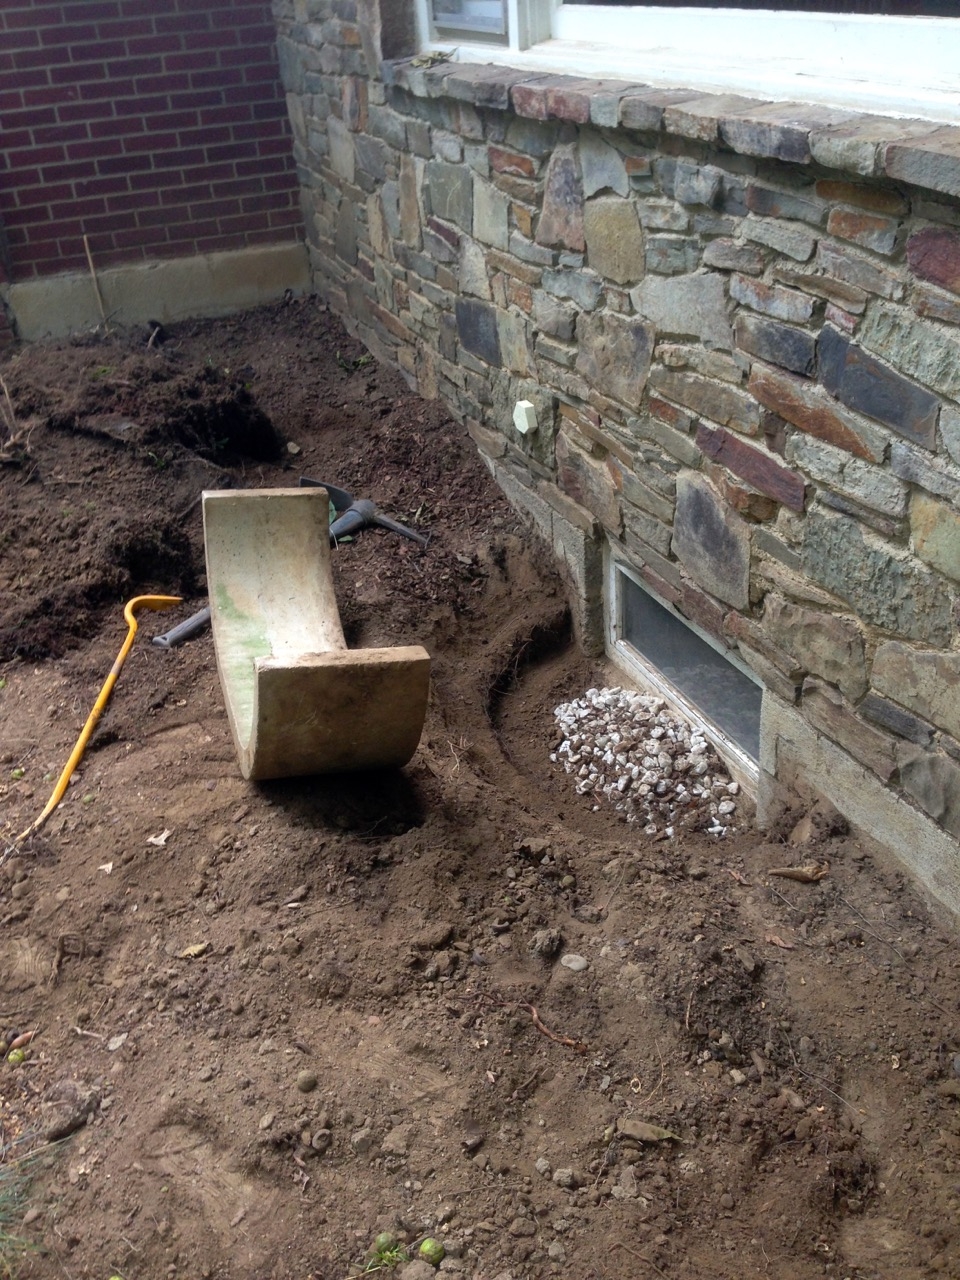
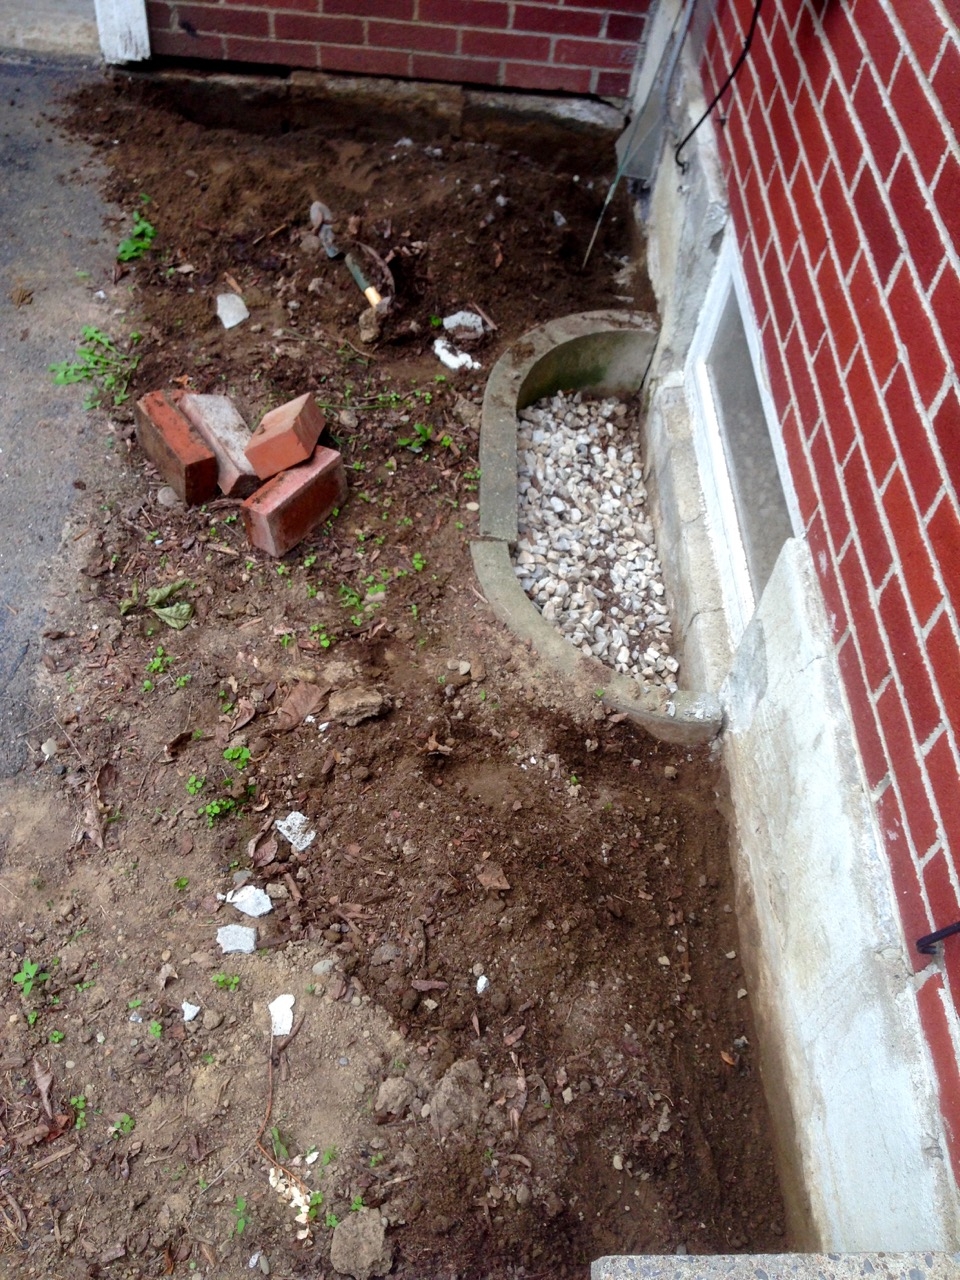
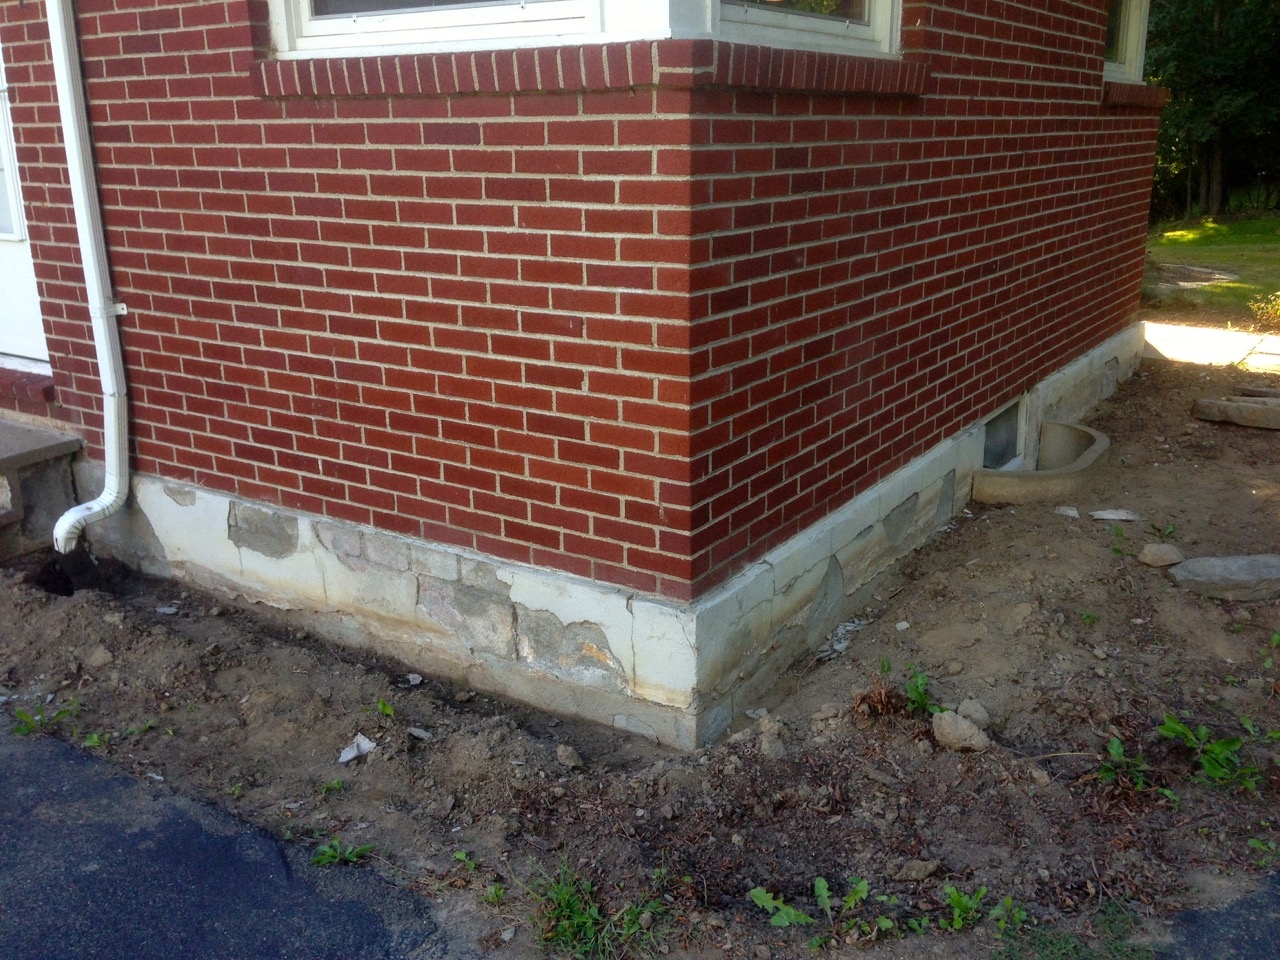
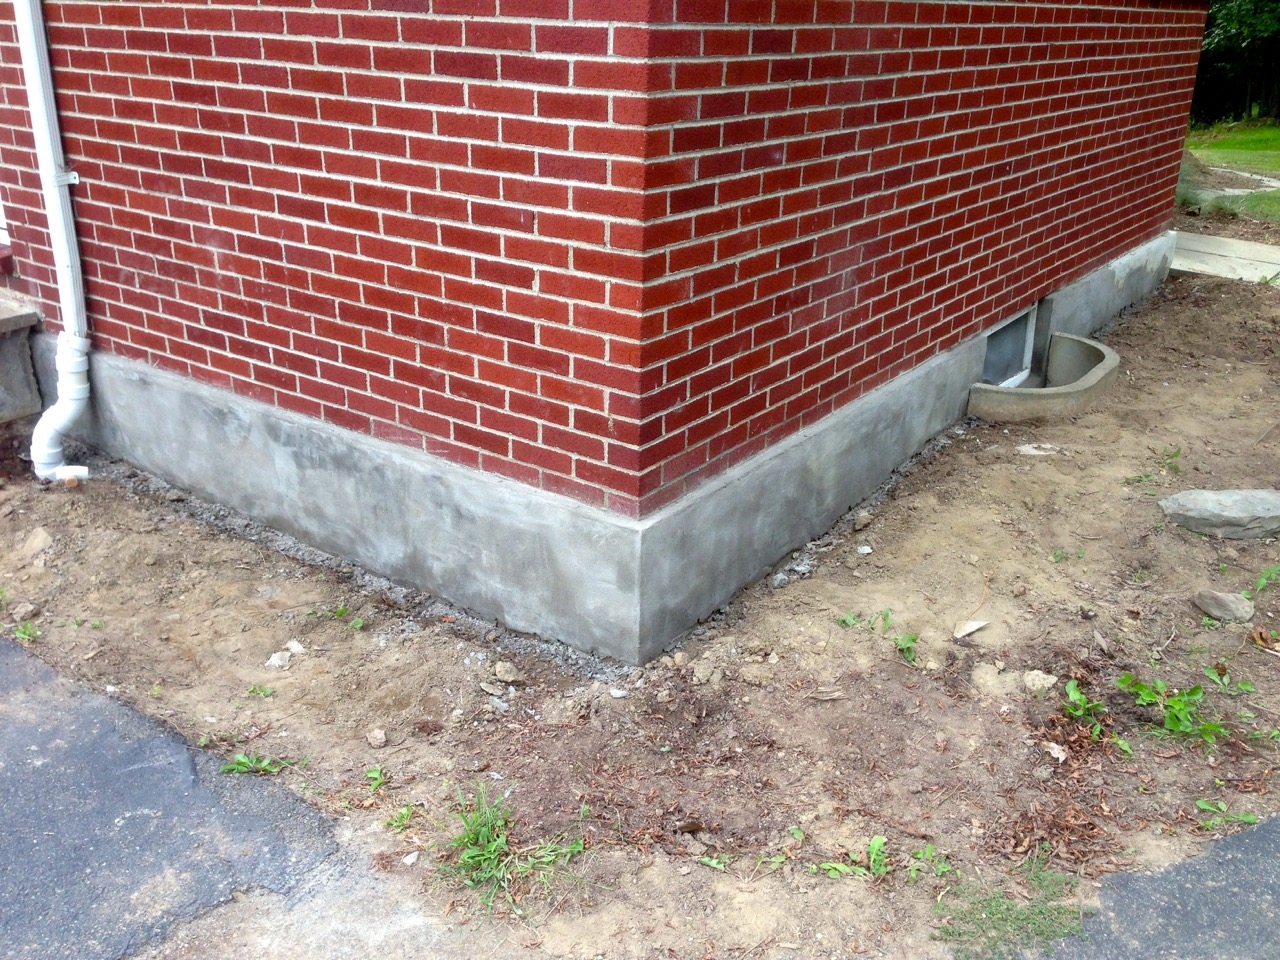
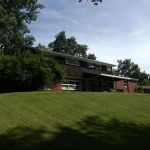
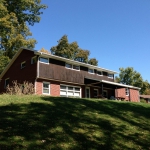
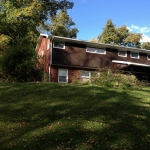
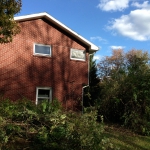
In my previous post, I detailed the early work – tearing out the old landscaping and getting some needed foundation parging work completed while access we easy. I also rectified a problem with a gutter that could overflow in the wrong place, and reset the basement window wells. After all of that I had to make some plans for landscaping. One of the big challenges for us is that the deer in our neighborhood are particularly ravenous. This meant a lot of research and help choosing appropriate landscaping. In addition, I was particular in that the landscaping that did get put in was smaller, compact, and aside from periodic basic maintenance (raking leaves, putting in some mulch), it would not grow out of control if not continually pruned. This was a problem with the previous landscaping, as you can see in one of the “before” pictures below.
Ironically, this is nothing compared to what it looked like before the new 1997 landscaping was put in. Those shrubs were comically large by the time they were pulled out.
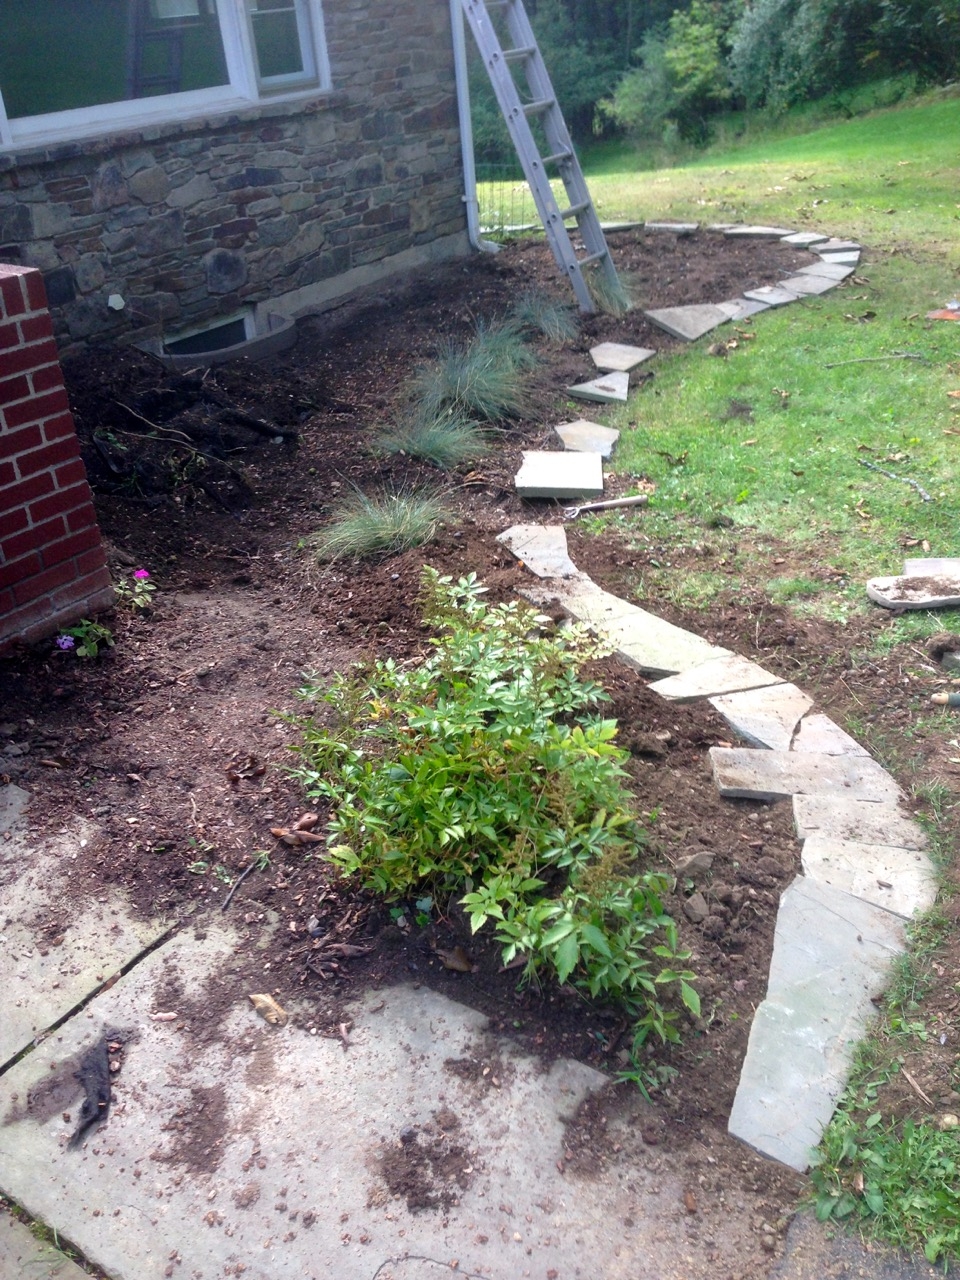
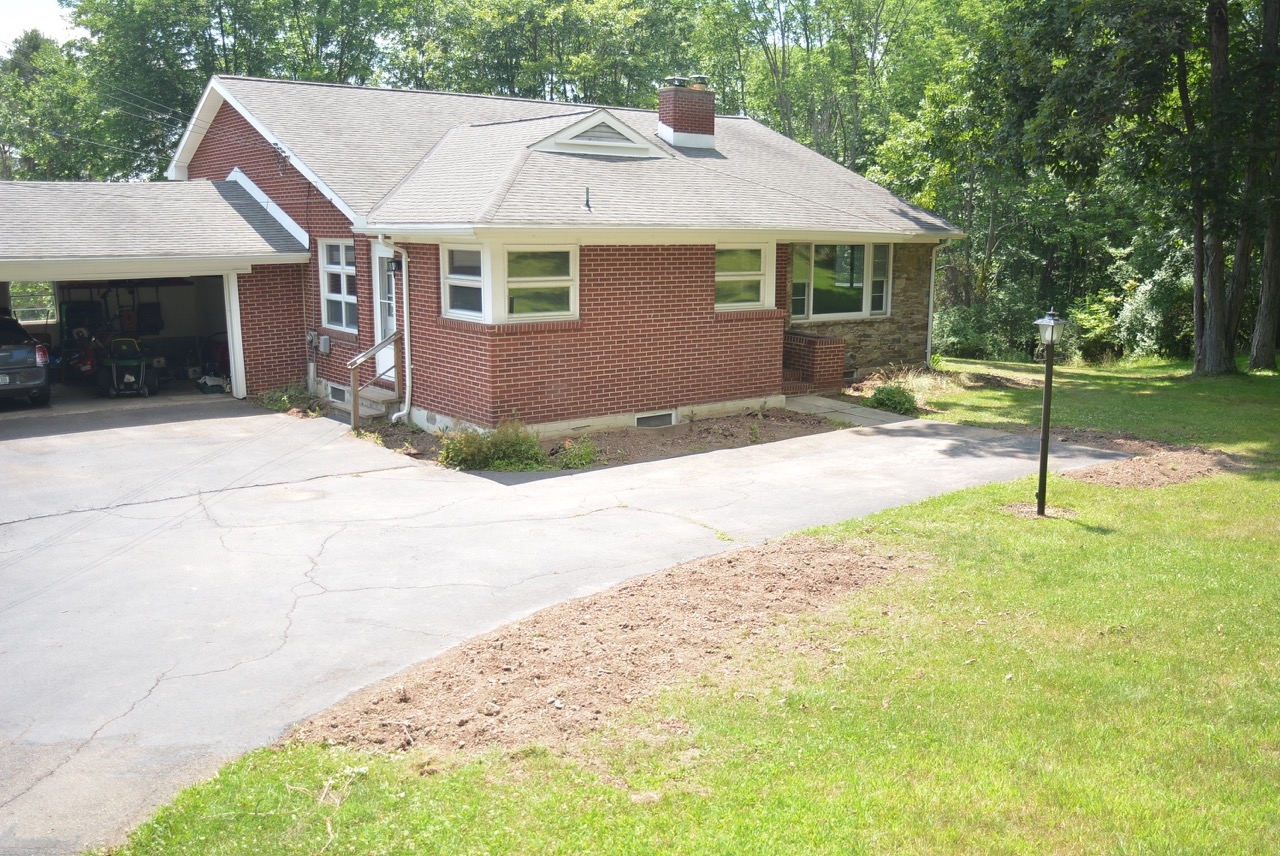
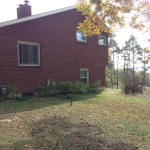
To finish preparing our plant beds, I had more work to do. I re-graded all of the beds, ensuring they were all sloped appropriately, building correct draining channels in the event of gutter overflows, and creating edging. I went back and forth for quite awhile over what edging to use. I originally was planning on using staked aluminum edging. While expensive, it would be very precise. In the end though, my neighbor had a large stack of bluestone he didn’t want. His house has a large bluestone retaining wall and over the years different stones had been replaced or moved. Our house already features a lot of bluestone, and I realized this would be the best edging for us. I spend a few days setting the stones across the large front planting bed and carried the edging down the side of the house – another long-term goal is to “complete” the landscaping by carrying it appropriately around the entire house, and not just the front. Doing this took care of one side, and next I will be adding a bluestone sidewalk on the other side.
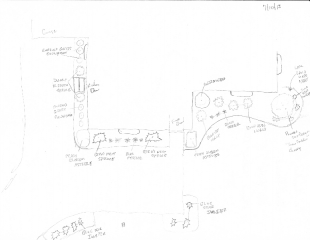
Once the edging was in place, I took a swing out to a local nursery – Tioga Gardens – and talked to them about my options. They gave me a nice list of plants and shrubs that fit the bill. In the end, here are the plants we chose and why:
Hummingbird Summersweet – This is a shade loving plant that provides lots of fragrant white flowers in July. It’s right in the corner of the front of the house where it stays shaded a lot of the day. And it only grows 3-4 feet tall and about the same width. This plant is deciduous and therefore will be bare in the winter.
Tamukeyama Japanese Maple – Mary was insistent that we have a Japansese Maple in the landscaping, so this one was placed on the outside of the main planting bed. This variety of Japanese maple will grow to a height of 6-8 feet, and roughly the same width when fully grown. It can be pruned easily and shaped. It does not grow very quickly.
Wedding Ring Boxwood – Four of these in an arc form the “middle row” of the main plant bed. They are a very compact boxwood, with yellow leaf edges and green centers, giving a lot of visual interest. They only grow 2-3 feet tall and require little pruning.
Blue Fescue grass – Several of these ornamental grasses were planted last year when we were just tiding over the landscaping, but we liked them enough to keep them. As their name implies, they have a bluish green tint. Because our house is red brick, this color provides a nice contrast. They also stay low to the ground, growing only about 1-2 feet and therefore make up the front row.
Petunias – The remainder of the primary plant bed will be filled in the summer with flowers such as petunias for summer-long color.
Green Gem Boxwood – In the front of the house along the driveway we planted a pair of these boxwoods. They are an all green variety, and also keep themselves very neat and compact.
Blue Star Juniper – These were used along the driveway. Unlike the previous shrubs, these are low maintenance and keep themselves low to the ground. They will ultimately be 1-2 feet tall and 2-3 feet wide. They offer year-round blue-green color.
Blue Star Juniper on a “standard” – Mary and I saw these when browsing and were pretty excited to put them in the landscaping. The grower takes a blue star juniper and grafts it onto a straight root stalk from another plant. The juniper plant then grows into a globe. They look really cool, and we planted a pair of them alongside the kitchen door.
Astilbe – This is one of the few holdover perennials from the old landscaping. Astible produces very nice colorful flower stalks from mid to late summer. Every few years you need to dig them up, cull and separate them, but we put these into the shade corner right next to the garage.
White Mountain Shasta Daisies – We put a few of these daisy plants in the mix. They produce flowers nearly all season from spring to fall. I’m writing this at the end of October and there are still flower buds trying to come out. (the frost keeps nipping them back.) This daisy plant stays compact, is 1-2 feet tall, makes great cut flowers, and requires little maintenance.
May Night Meadow Sage – This is sage as in the same spice family. Sage produces very nice fragrant flower spikes from mid-summer through September. It has characteristics similar to the shasta daisy – it’s compact, grows 1-2 feet tall, and requires little maintenance.
Pink Sapphire Coreopsis – This plant produces nice pinkish flowers from summer into fall. It shares similar characteristics to the other two flowers.
Bearded Iris – My grandmother had tons of bearded iris in several beds. They had not been divided in many years so they weren’t flowering any longer. I have taken several dozen and placed them into the landscaping. Over the next few years they should provide a good show.
Bulb variety – We set aside some space in the landscaping – particularly at the corner of the driveway, around the lampposts, and around the new Modbox mailbox for good bulb plantings. Bulbs include Snowdrops (very, very early white flowers), Crocus (also very early), Daffodils (both early and late spring varieties), and Hyacinths (early spring flowers.) The idea for flowers is to create a variety of flowers that bloom consistently from early spring through the fall: snowdrops, crocus, daffodils, hyacinths, lilac, iris, peonies, daisies, sage, coreopsis.
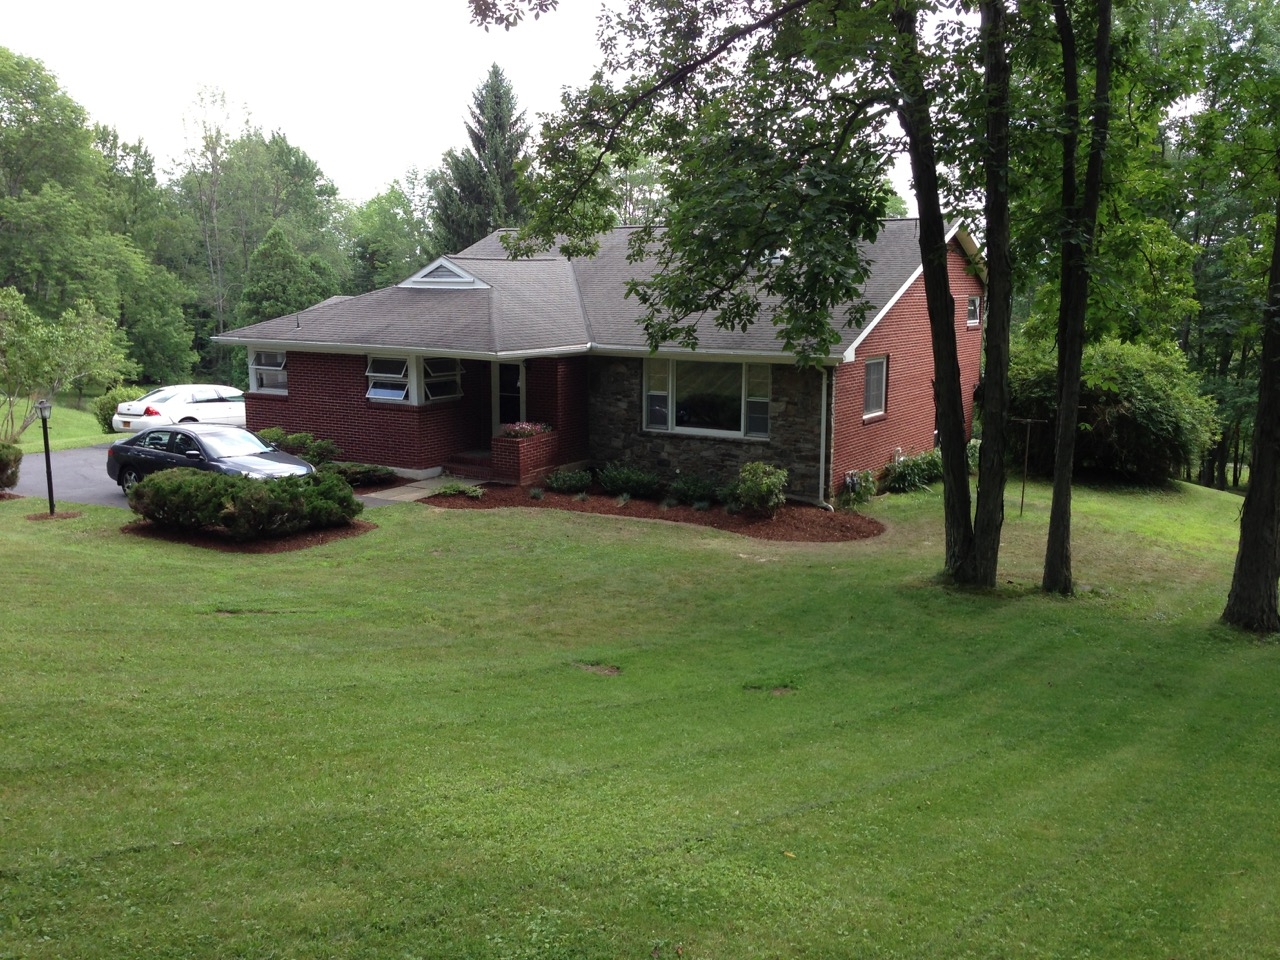
By next year, I should have the new bluestone sidewalk from the driveway around the garage to the back patio completed, which will also give us another set of beds for planting and complete the landscaping “all around” the house.
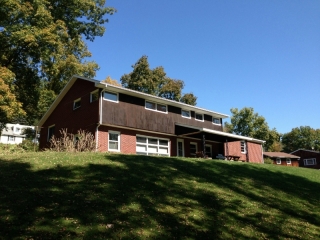
Here are pictures showing the progress including before and afters:
[Not a valid template]

