Category Archives: exterior

The Great Landscape Challenge of 2014 – Part 1 – Rip and Parge

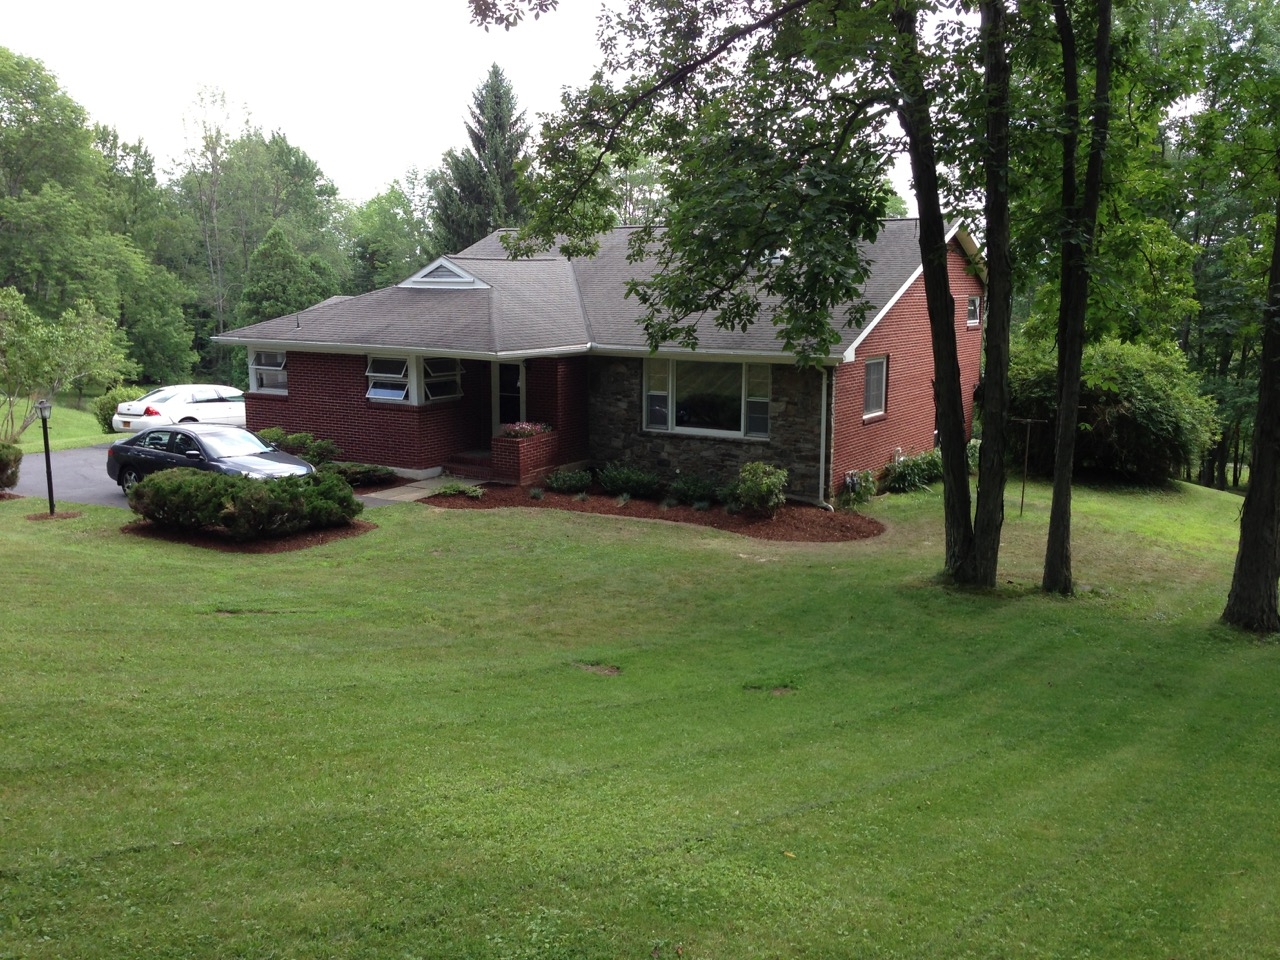
Going into the summer of 2014, I knew I was going to be focusing a lot of work on several exterior projects. At the beginning of the summer I took a week and attacked the cantilever insulation, and I was doing a fair amount of prep work by mid summer for the Hawaiian luau pig roast. You may also have seen a picture from last year when Mary and I did our first take on cleaning up the existing landscaping:

At that time, that was just a stopgap – I had a lot of other projects to work on, and I knew that once I really got into the landscaping it would become an exceptionally large job. Why? Because once I had the landscaping ripped out, before we spent money to put new landscaping in, I would be correcting several other exterior issues at the same time. In particular:

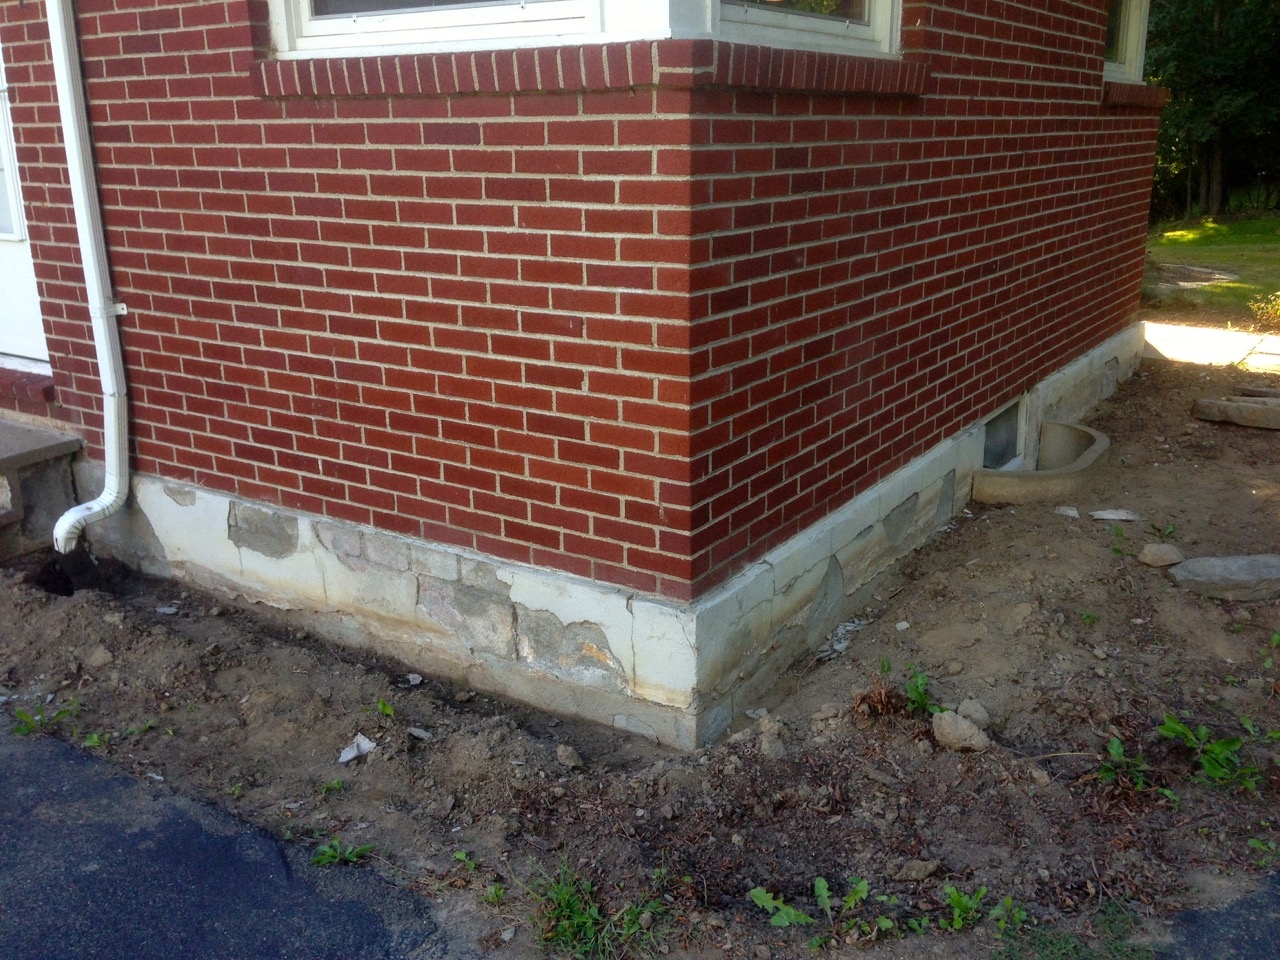
– The parging on the house foundation was last done about 20 years ago and beginning to flake of and needed to be repaired.

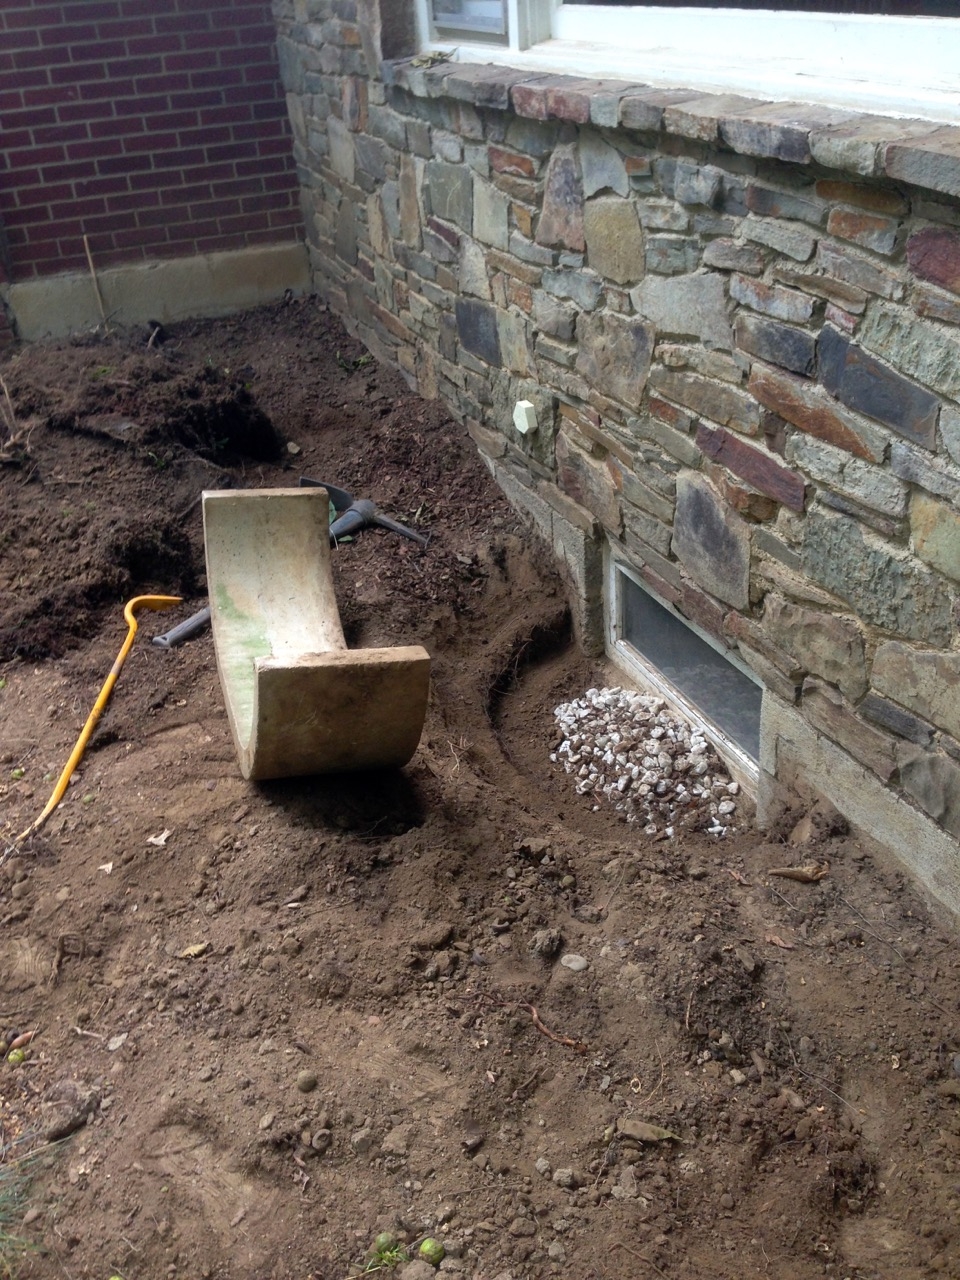
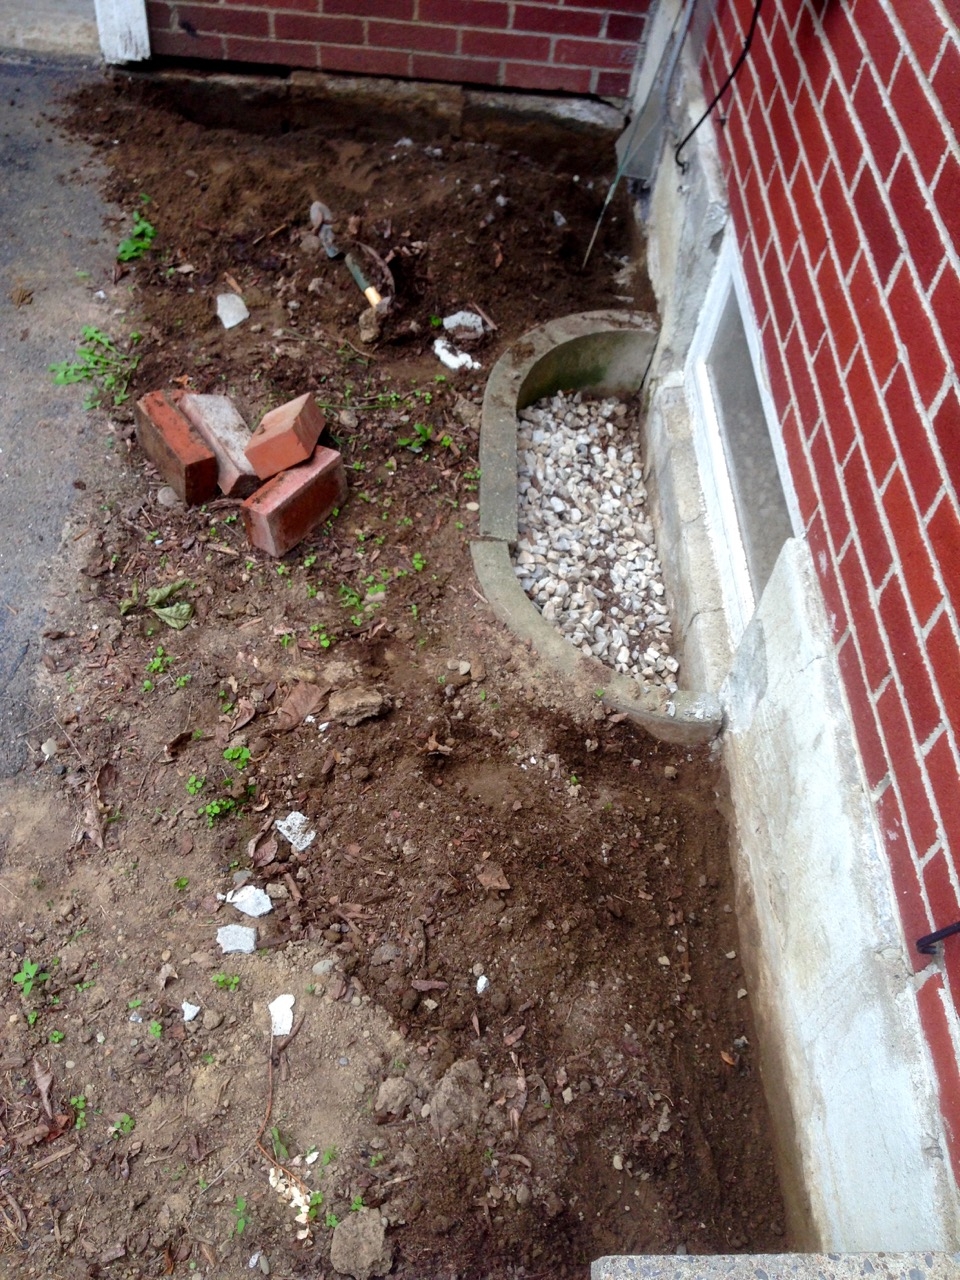
– The basement window wells needed to be adjusted and re-set. Two that had cracks needed to be re-set so the sides were back together, and all needed to be elevated a few inches to better protect the basement windows.

– The landscaping in the front of the house needed to be re-graded. It had a low spot near one of the basement window wells right below a gutter that can overflow into it. This isn’t a good combination in a heavy storm when the gutter backs up. (as can happen in the fall.)

The first part of this two part post covers the first chunks: cleaning out the existing landscaping, fixing the terrain, and parging.

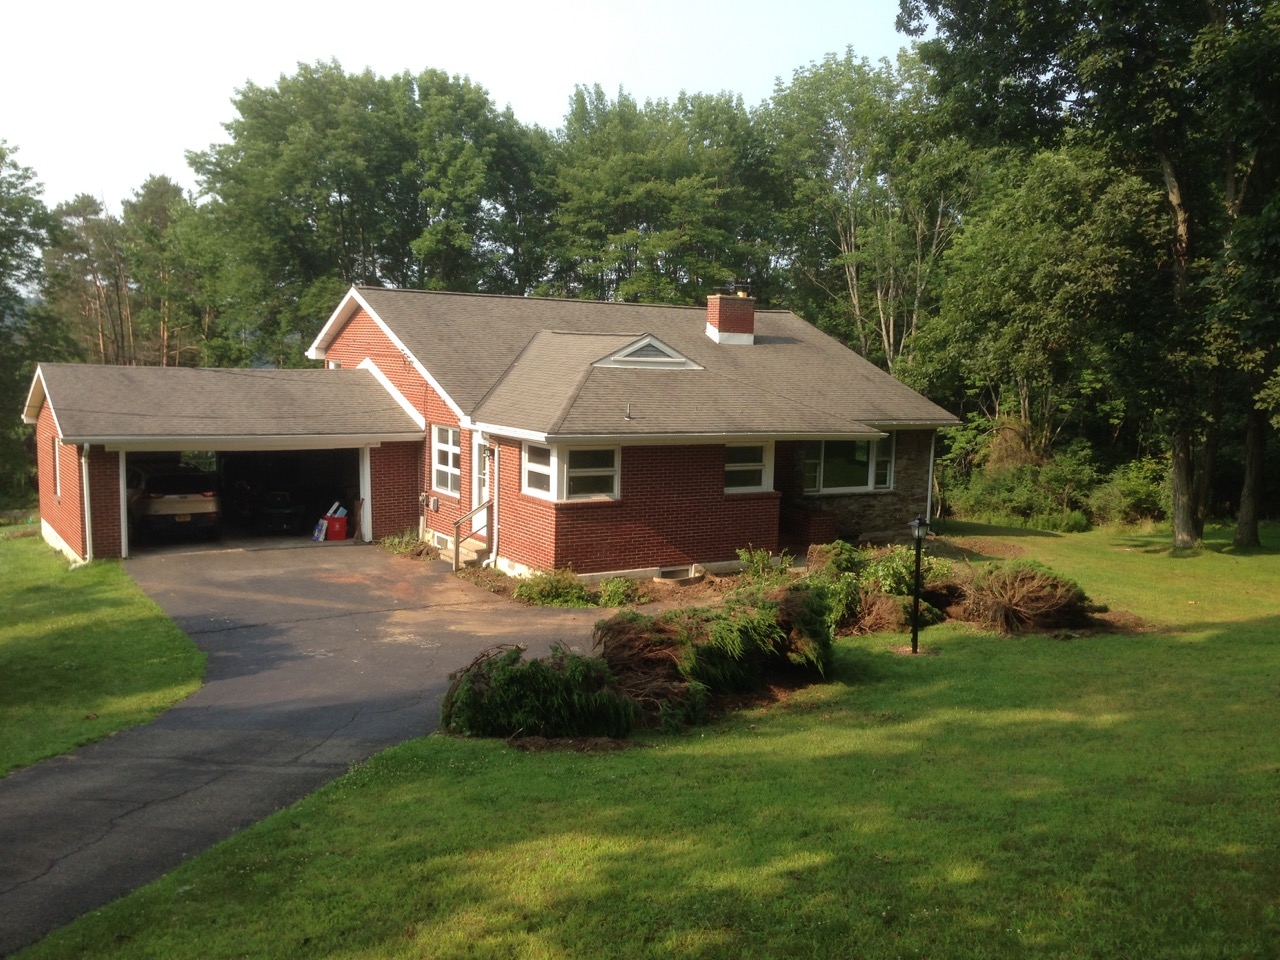
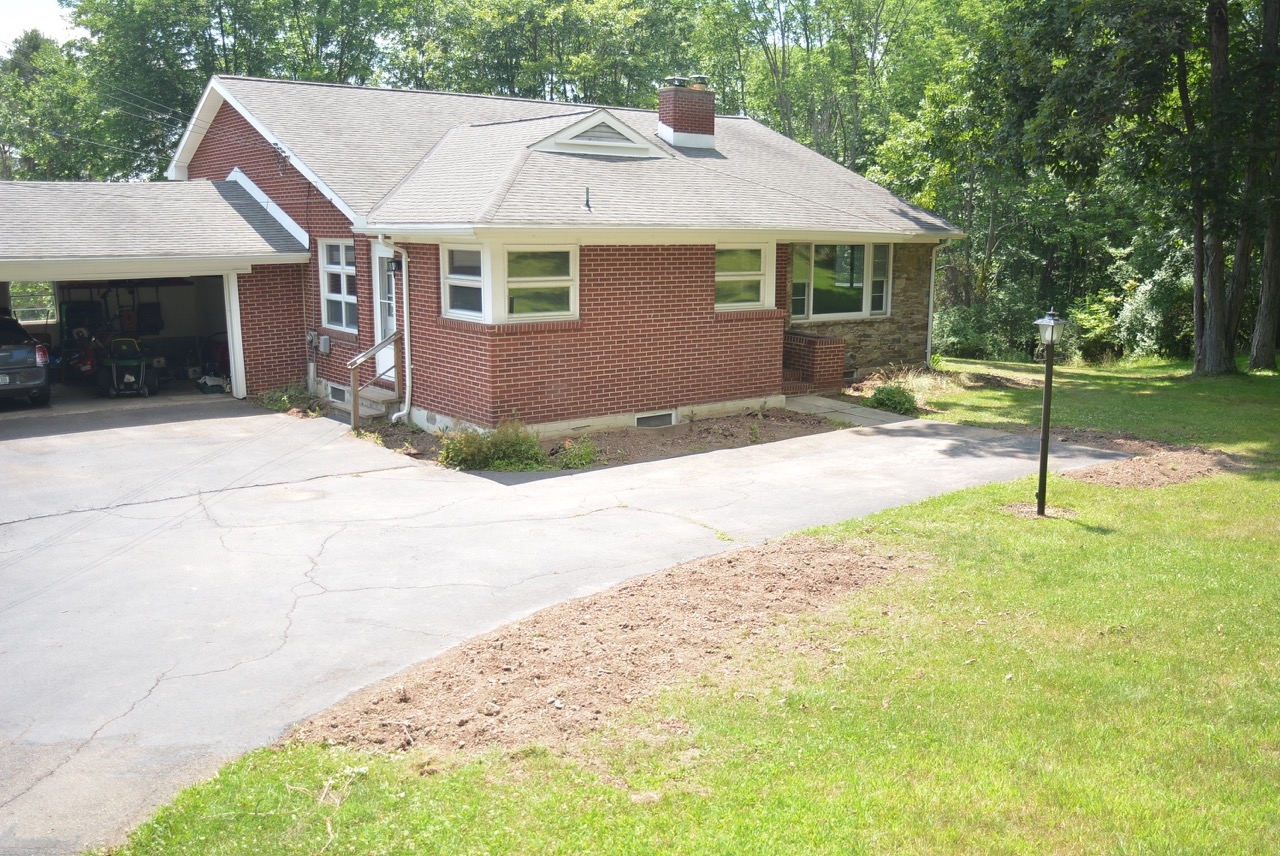
To get started, I called my Uncle (Charlie) and asked if he could bring over his tractor to help me out. Fortunately he was game (we made him dinner) and out came all of the landscaping. Doing this with a tractor is infinitely easier than trying to get it out yourself. Actually, I’m pretty sure there was no way I could have got that out by myself. For the next several weeks (including during the Luau) the front of the house was at first, a disaster and then just barren:

After cleaning up the pulled landscaping and disposing of it, I moved on to taking care of the window wells. On our house we have precast concrete window wells. I think they are nicer than the metal ones, but these needed to be elevated a few inches to help keep things out of the wells:

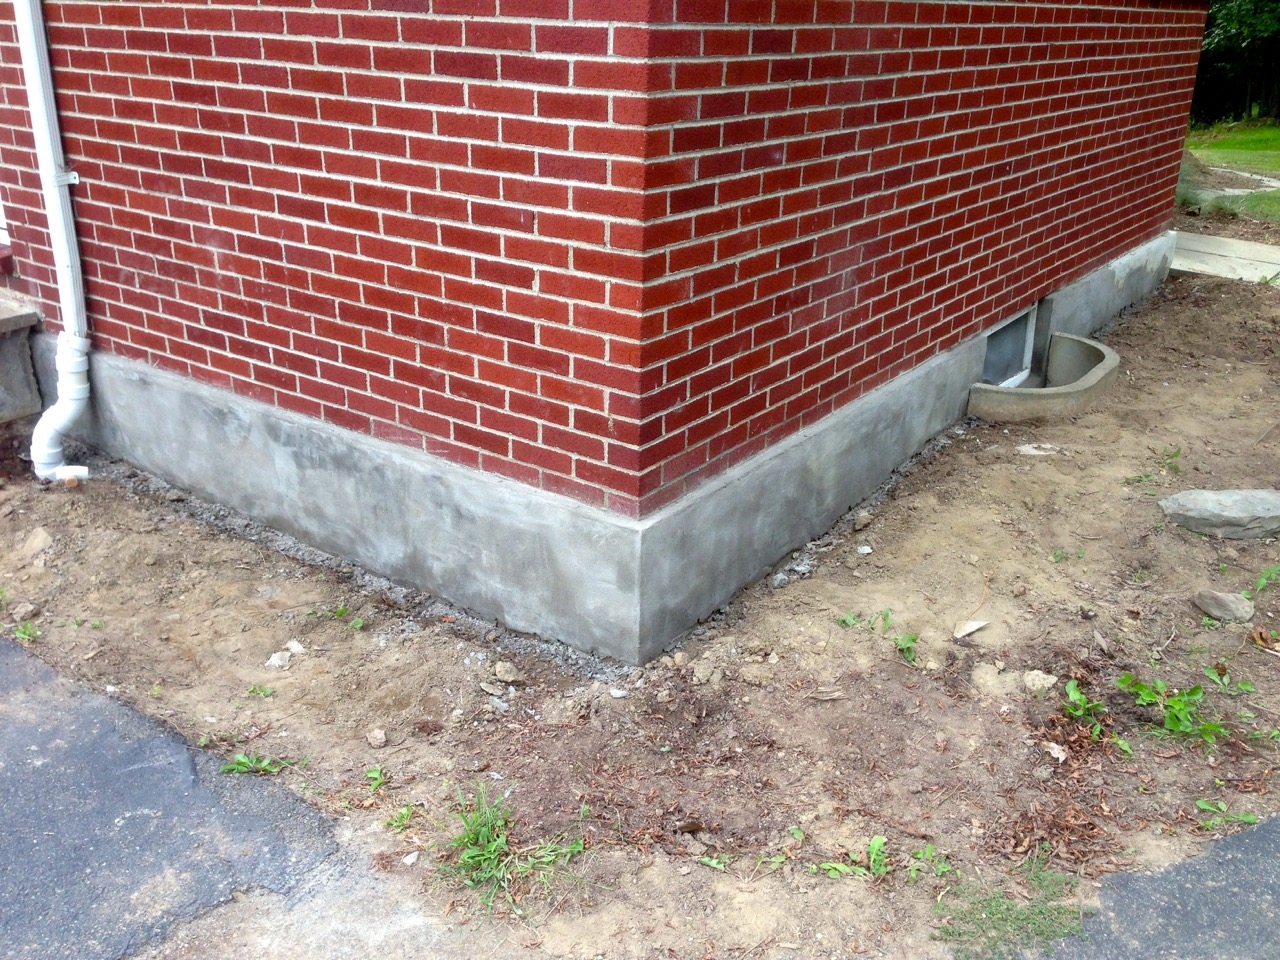
Getting to this point took me about three weeks between all of our other commitments (like SpiedieFest), but with September quickly approaching I got back on the horse and brushed up on a new masonry skill: parging a block wall. Parging is applying a skim coating of concrete to a surface – in our case, the exposed top portion of the house’s cinderblock foundation. Parging gives the block a nice uniform appearance, as well as providing a fresh sealed top coat on the block to enhance strength and weather seal.

The parging process involved digging a trench about 4-6 inches deep around the foundation to get a finished spot below the ground line and pre-cleaning\scraping any loose existing parging away. Then you mix up an appropriate batch of mortar (I used sand topping mix, applied about 1/4 inch thick) and, on your hands and knees, apply mortar to a rectangular trowel and push it onto the foundation wall.

There is a fair bit of learning at this step – you have to learn how much mortar goes onto the trowel, how moist it should be, and the best application stroke to take to move reasonably quickly as well as ensure your coating is going to stick. Once it has dried slightly, I came back over it with a rubber float and lightly scrape the surface to “expose” the texture of the newly applied concrete. Doing this step helps cover any imperfections in your application, as well as ensure the entire wall has a uniform appearance. Of all the parts of this work, I feel the parging was the one that really had the biggest visual change:

Part two to follow with the installation of the new landscaping.

The Evil Cantilever

Our house is a really cool back-split style house, but along with that comes some insulating and air sealing issues that are unique to our house. In 2010 when my Grandmother still lived here, I helped her replace the boiler as well as perform a whole-house insulation upgrade (the costs and rebates were so good she had all the work done for just the cost of the boiler and cut her heating bill in half.) These guys did blown cellulose in most walls (there was none previously) and air sealed a large portion of the house.
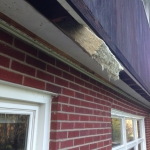
One thing they did not air seal – and I didn’t realize at the time to insist it be done – was the cantilever. The evil cantilever. You see, a cantilever adds additional space on the second floor of your house (yay!) but until recently they were almost universally constructed in such as a way that they are places where enormous amounts of energy (heat or cool) leak from your house. Our house was no exception. The cantilever in our house was so porous that during the winter the circulating air in the space between the family room and upstairs bedrooms was so significant it actually chilled the floor. Not a lot of fun – so I had to fix it.

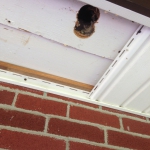
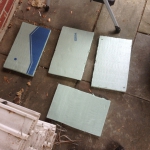
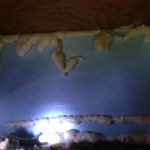
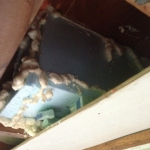
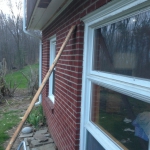
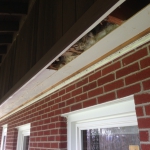
This would qualify as a medium-scale project for me. It was pretty messy and took about a week to complete. I started by removing the soffit pieces on the cantilever and pulling back the wood that closes the cantilever up. Once inside, I took pre-cut pieces of foam insulation and fit them into the cavities between each set of joists above the wall and, using spray-foam insulation, foam sealed them into place. Once the spray foam expands and dries it forms a nearly air-tight barrier. By doing this I effectively “cut off” the cantilevered space from the interior space of the house – this would be sufficient to stop the air flow problem – but I still would have another problem that the outside 1.5 feet of floor in each bedroom upstairs would be exceptionally cold now.

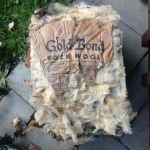
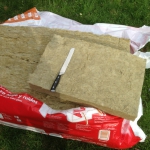
To solve this, I picked up some mineral wool insulation (WAY better than fiberglass) and fit them into the cavities underneath the floor. This should insulate that last 1.5 feet of floor and keep it nice and warm. In one spot I had a pipe for the baseboard heat that poked into the space. To solve that, I had to use foam board and build a “box” around it.

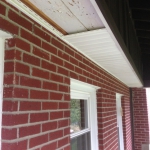
Once finished I put the wood cover back up and caulked it appropriately to provide a first line of air sealing, cleaned everything up and reinstalled the plastic soffit pieces. The finished product came out nice, but of course I was doing this in late spring which means we don’t get a chance to see how much better the floor feels until winter. Based on some previous air sealing on another section of the flooring, we are expecting the change to be pretty significant.

Here is a photo chronology of the work:

Send in the Drones

This is Andy.

1269098_10101243520132485_709718593_o

Andy is a friend of ours, and he’s a really smart guy. Andy has a secret, though:

D7K_1567

Andy has a drone. (OK, it’s really a DJI Phantom 2 Quadcopter. He also has Google Glass.)

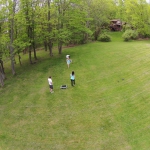
Over the Memorial Day weekend, Mary and I hosted family and some friends for a cookout and hangout. Our friend Andy here brought his drone to share. The cool thing about this device? It has a mount for a GoPro camera, meaning you can fly it in the air and take really sweet aerial shots of things. It sounds like two swarms of bees, and looks like this when flying:

D7K_1571

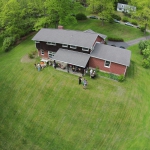
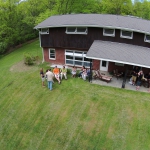
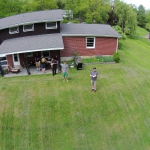
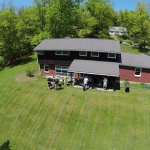
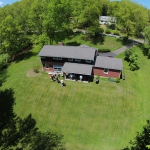
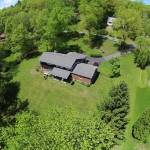
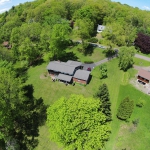
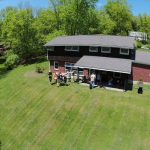
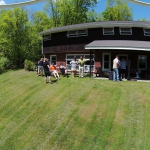
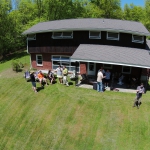
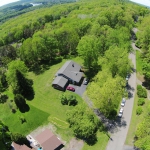
Andy was nice enough to take a bunch of shots of our house and share them with us. I think they’re pretty awesome (thanks Andy!)


Mid-Century Mailbox

One thing that has stymied me since before we purchased the house was to look for a new mailbox. The mailbox in front of the house currently is not only not the original, it’s the plain-jane black-plastic-on-wood-post box that you can pick up for $75 anywhere. Given our mid-century house aesthetic, I wanted something a little fancier. But interestingly, there are lots of mid-century style reproductions – light fixtures, furniture, accessories – but for some reason, there are no mid-century mailboxes. So I had been considering my options for some modern-but-compatible alternatives, but none really seemed to fit:

nubox rural_zinc_main cadrona_main_01

But, the other day I was perusing Facebook, when the folks over at Retro Renovation shared a post about a gentleman down in North Carolina who, running into the same issue, did a little research, found a classic and popular mid-century mailbox design, and came up with this beauty, called the ModBox:

Paprika-Black_large

He is currently running a Kickstarter to fund the initial production run. Needless to say I was intrigued. There is a bit more to this story, though. You see, the original (or close to original) mailbox was around until about 2002 or so, when it was replaced with the drab box that is present now. I remember the old mailbox well. What was that original box? Well, let’s take a look:

2003 house photo

Take a look at the mailbox…

Look familiar? That’s right, my grandparents had the mailbox the ModBox is based on. It was a model known as the “Sleek Suburban” by one of the manufacturers, and no place bigger than Sears had their own fancy version as well. Unfortunately when the mailbox on our house was replaced, the old one was simply put in the trash. Ouch.

But today, I signed up to get a brand spanking new and fancy ModBox of our own. Assuming it gets funded, it should be here in August (with a fancy angled mounting pole too.)

So, if you need a mailbox, head over to the ModBox site and support the project on Kickstarter!