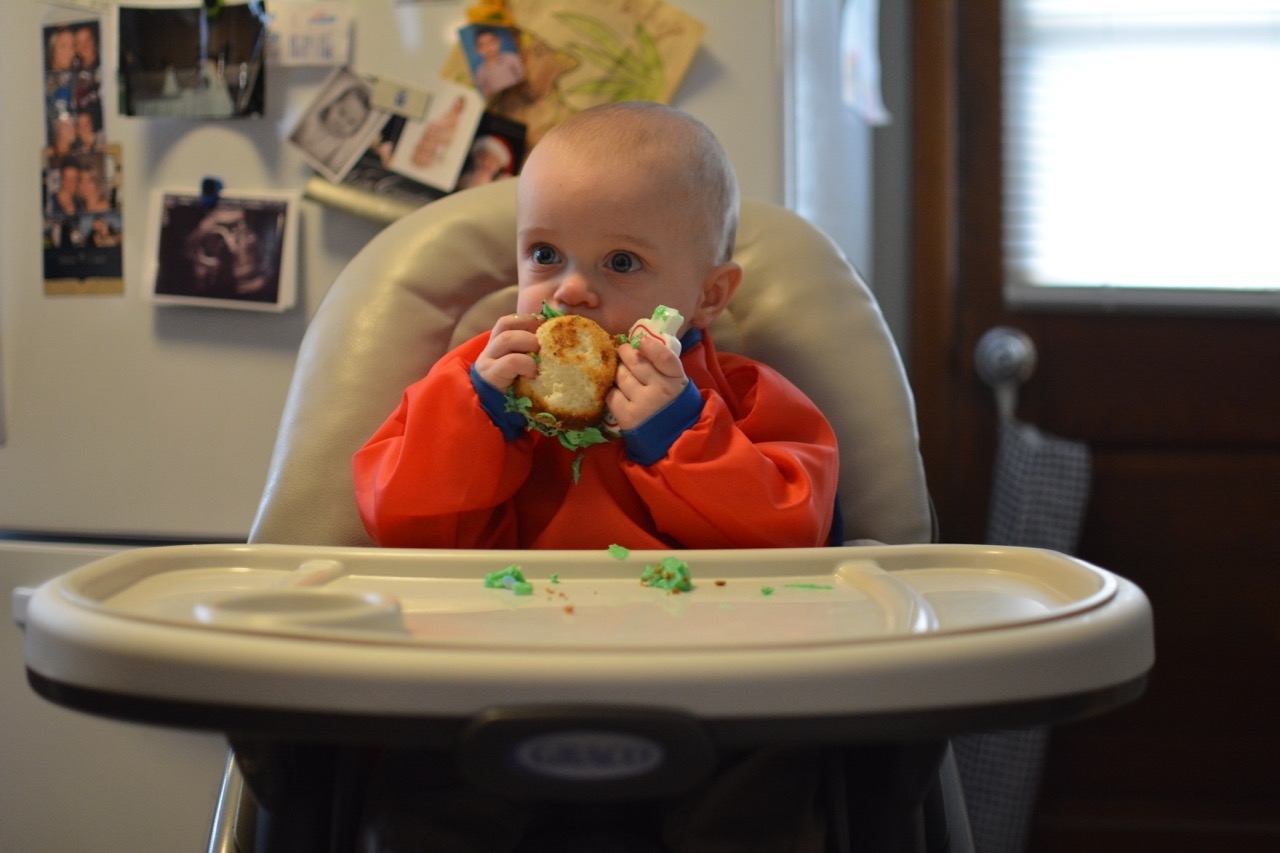
Happy First Birthday Stephen!
Doug and I had “plan” last year right around this time—finish Stephen’s bedroom over my spring break from school once we knew what we still needed after the baby shower.
Stephen had a different plan. We welcomed him on the day of the baby shower, three and a half weeks early. Hooray! He’s arrived! He’s perfect! He doesn’t have a mattress on his bed, or sheets, or enough clothes to get him through a week. No big deal, babies sleep in their parents’ room for those first few months anyway.
New “plan”: we’ll just spend the first month snuggling him and getting his room finished.
You see where I’m going here? After a 9 day stint in the Neonatal Intensive Care Unit, and roughly 6 weeks of focusing all of our attention on making sure he was gaining enough weight, Stephen still didn’t have a finished room.
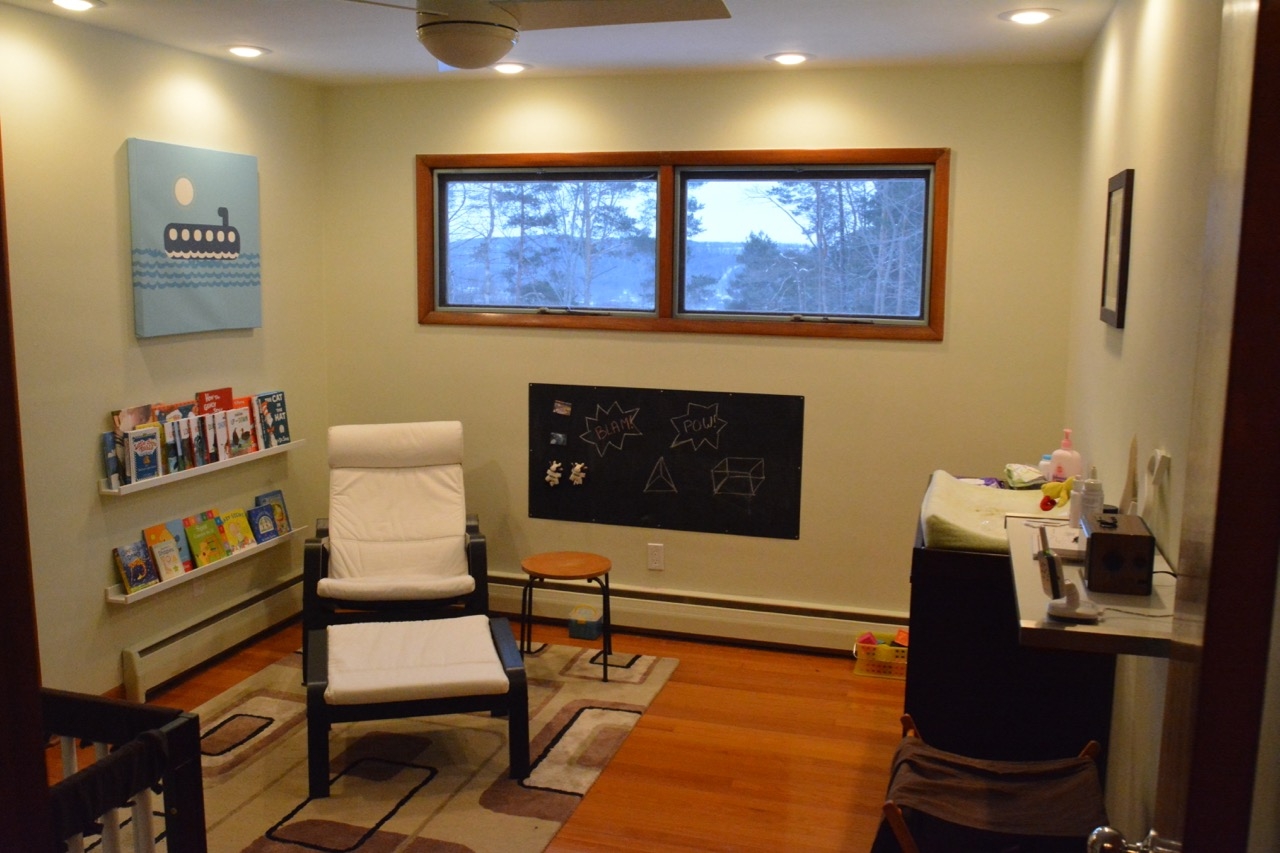
Long story not much shorter, Stephen’s room had the final touches completed in February after a trip to IKEA. Starting with the paint choices for upstairs, here’s the timeline behind what we feel is a pretty awesome room for our little boy.
After Doug and I had moved in, we chose a color palette for the upstairs bedrooms that would work in the master as well as rooms we knew would one day be for our kids. The goal for those rooms was to choose a color that would work for a boy or girl, and wouldn’t be outgrown as the kiddo got older. This Valspar paint is called “Ancient Olive”. We’re big on flat finish for rooms because it covers imperfections on the wall. This room stayed empty or held a few miscellaneous items for the months we were finishing the rest of the house and, well, not thinking about babies yet.
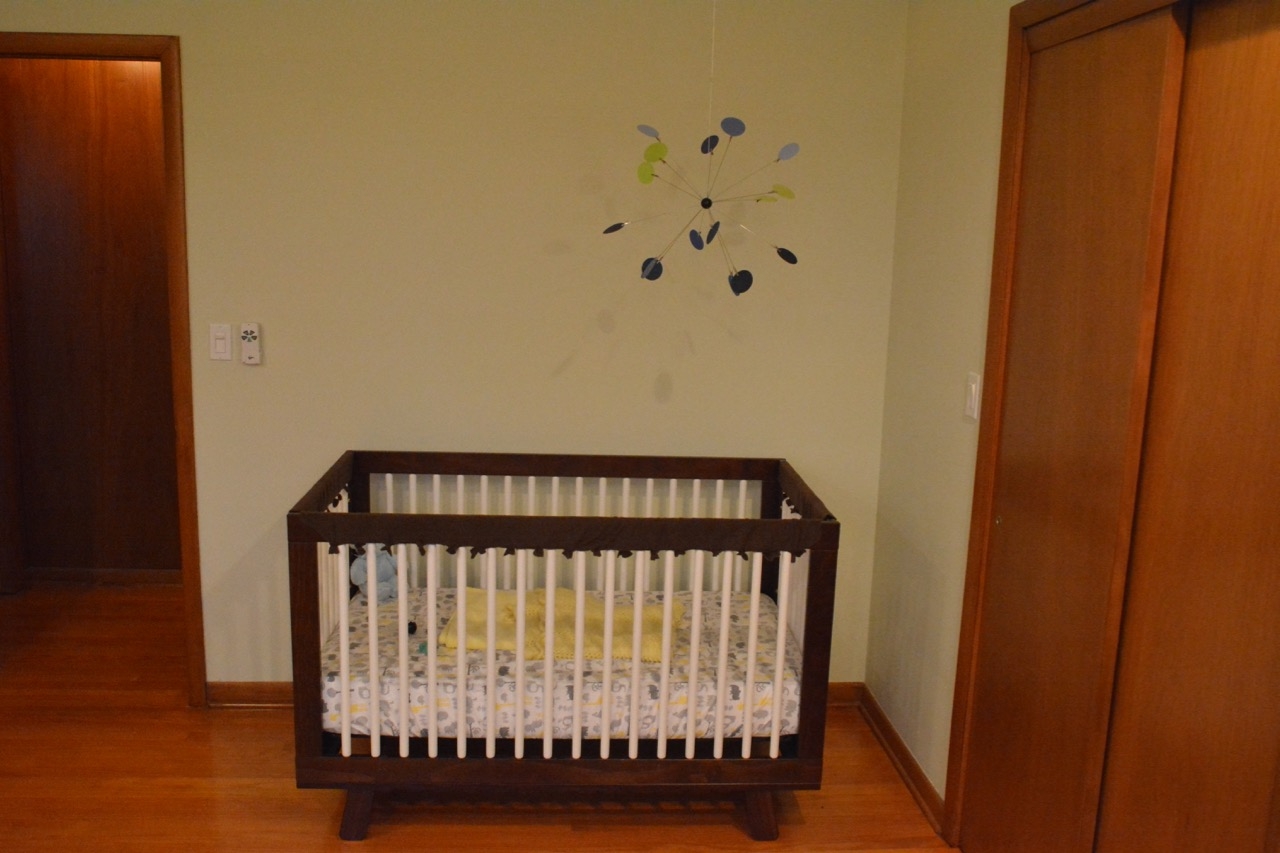
The first purchase for Stephen’s room was a Sputnik mobile from an Etsy shop called mdmobiles. The design was simple and the assembly was even simpler.
Next, we got his crib and changing table as gifts from my mother and sister. As it turns out, matching wood colors to amber shellac is next to impossible. That deep amber color can’t really be replicated with a different stain. The next best thing is to find complimentary wood finishes, and incorporate some white to break up the two different wood shades.
Since almost day one, Stephen has been known as “Scuba Steve” by our family and friends. While we tried to avoid any specific themes for his bedroom, the nickname made it much easier when looking for wall art for his bedroom (at roughly six months). This painted canvas is from the Things that Go collection “Submarining” from avalisa.com
His bookshelves are IKEA Ribba shelving. It was a non negotiable for me to have his book covers visible. They’re still deep enough to stack while still seeing all of the covers. Having two shelves allowed us to put beginner books on bottom and tearable books on the top. The other IKEA purchase in the room is the POANG rocking chair.
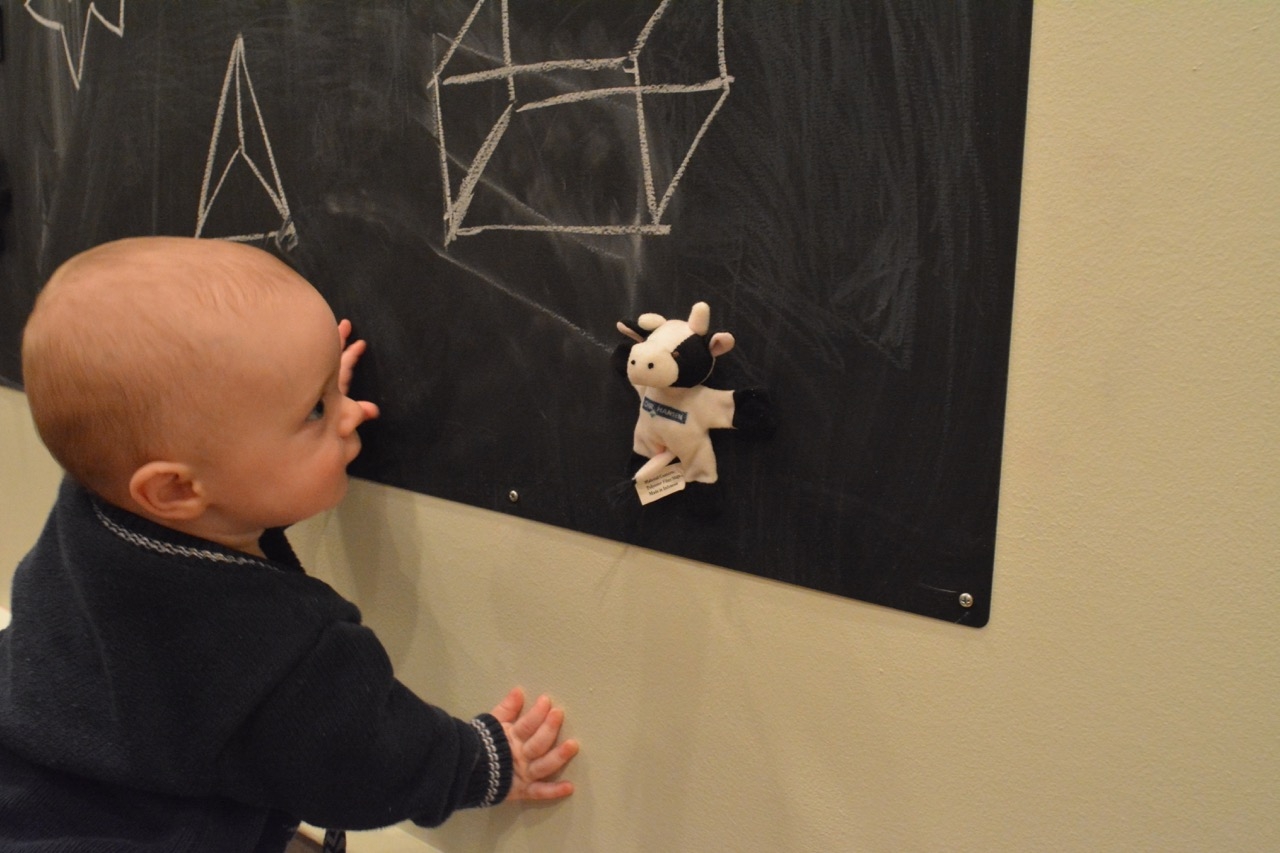
Finishing out the room is the chalkboard wall. Doug used a magnetic metal sheet and painted it with chalkboard paint. So far, he and I have had a blast writing on it. Eventually, another RIBBA shelf will be added as a chalk tray.
Enjoy your room, Stephen! We’re never changing it.

